

How to Repair Cracks Between Wall and Ceiling

That hairline crack where the wall meets the ceiling usually starts small, then keeps catching your eye every time the light hits it. If you are searching for how to repair cracks between wall and ceiling, the main thing to know is this: a neat, lasting result depends less on paint and more on proper prep, filling, and finishing.
In many homes, this type of crack shows up because of normal movement, poor joint treatment, old plaster, moisture, or previous patch jobs that were painted over too quickly. Some are cosmetic. Some point to a bigger issue. The difference matters, because the right repair for a simple surface crack is not the same as the right repair for a recurring ceiling joint that keeps opening up.
What causes cracks between wall and ceiling?
The wall-to-ceiling line is a common stress point. Different materials expand and contract at different rates, especially with heat, humidity, and seasonal changes. In older homes, settling can also create movement at these junctions.
Poor workmanship is another common reason. If the original contractor used too little joint compound, skipped tape, or painted before the surface fully cured, the seam may split later. In plastered surfaces, weak bonding, old patching material, or uneven substrate can also lead to cracking.
Moisture changes the picture. If the crack sits near a bathroom, kitchen, roof edge, air-conditioning line, or upstairs plumbing area, water may be part of the problem. In that case, repairing the crack without fixing the source first is just temporary.
Before you repair, check whether it is cosmetic or structural
A thin, straight crack with no sagging, staining, or softness is often a surface-level issue. That is usually repairable with proper opening, filling, taping if needed, sanding, and repainting.
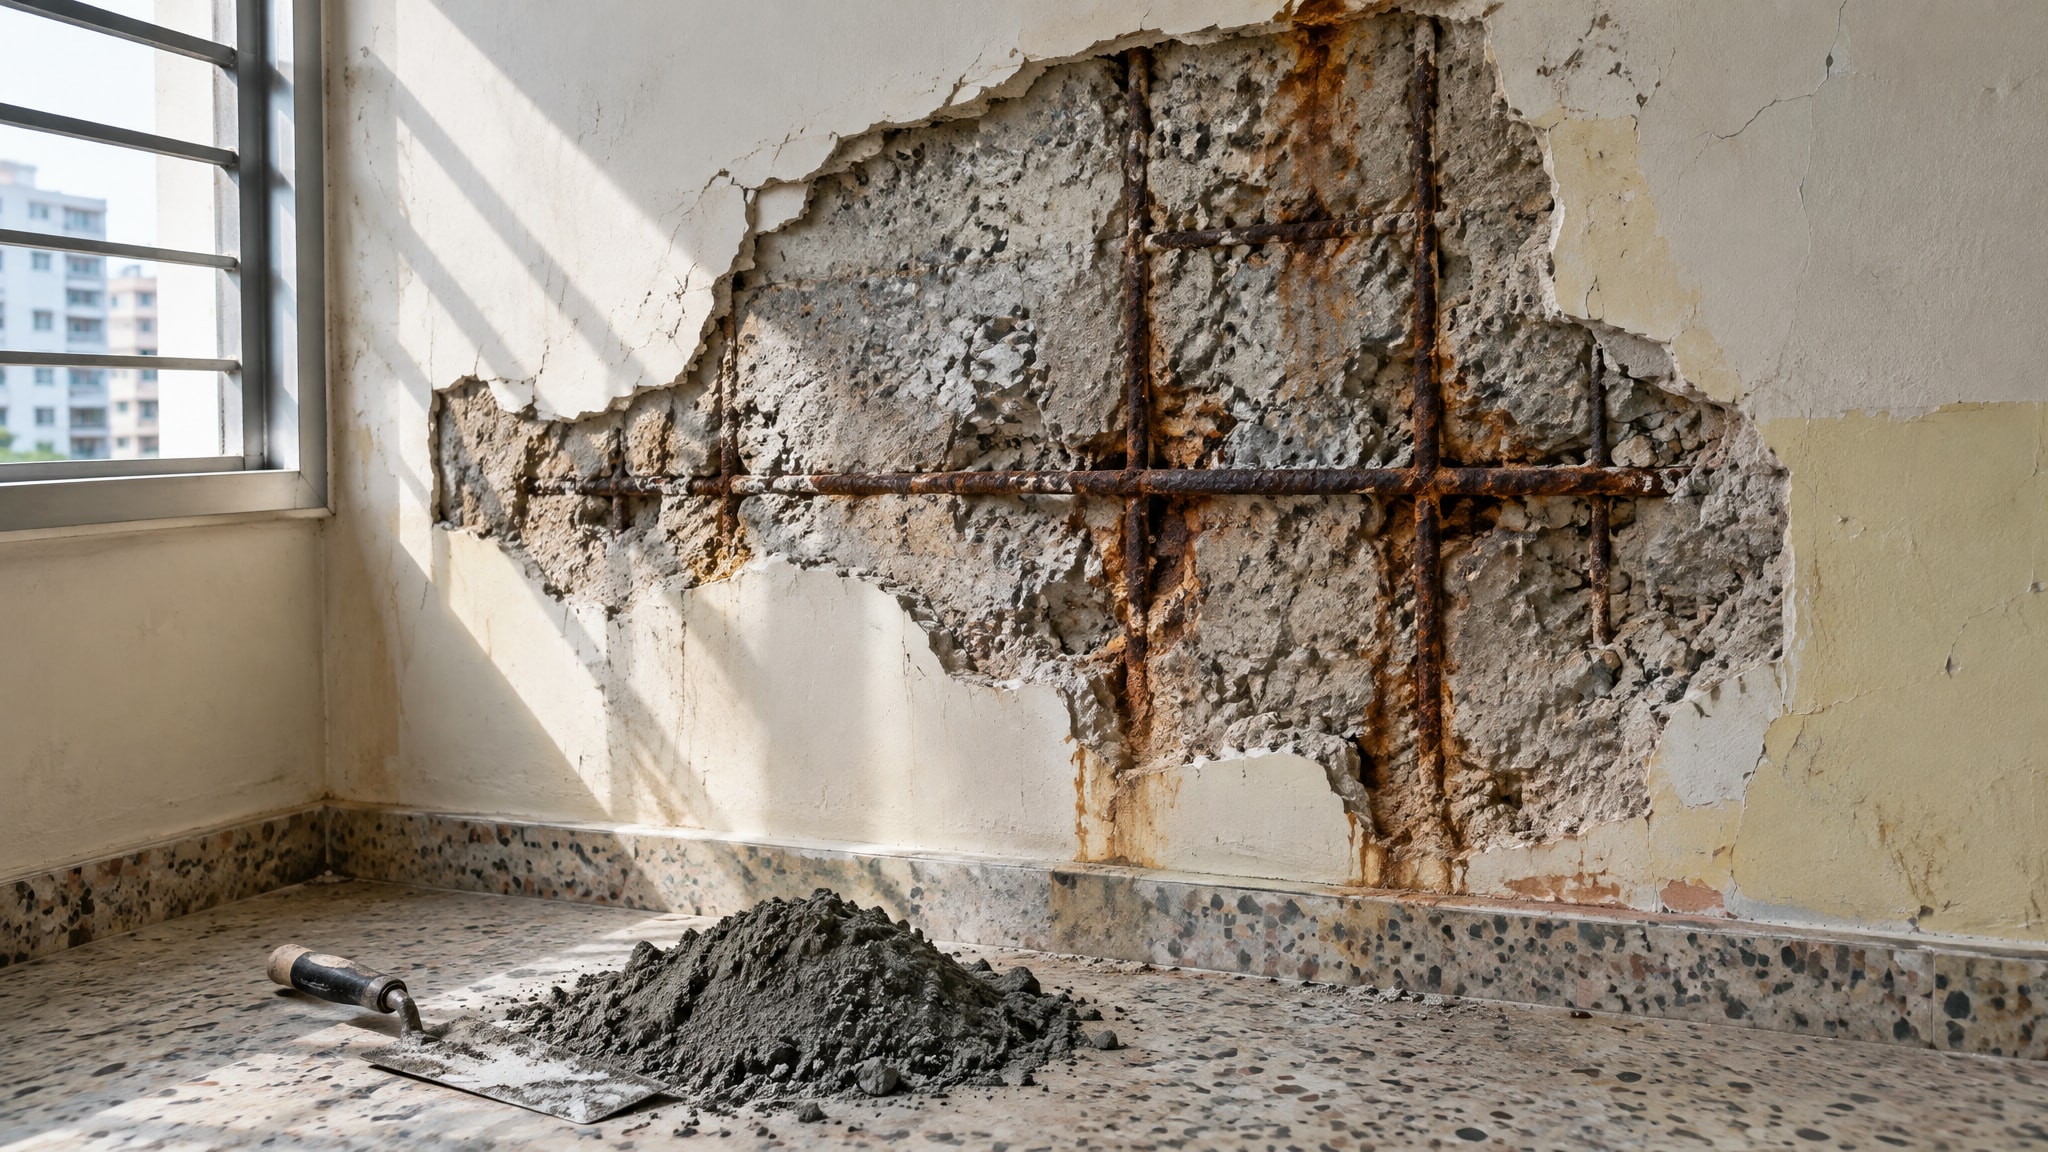
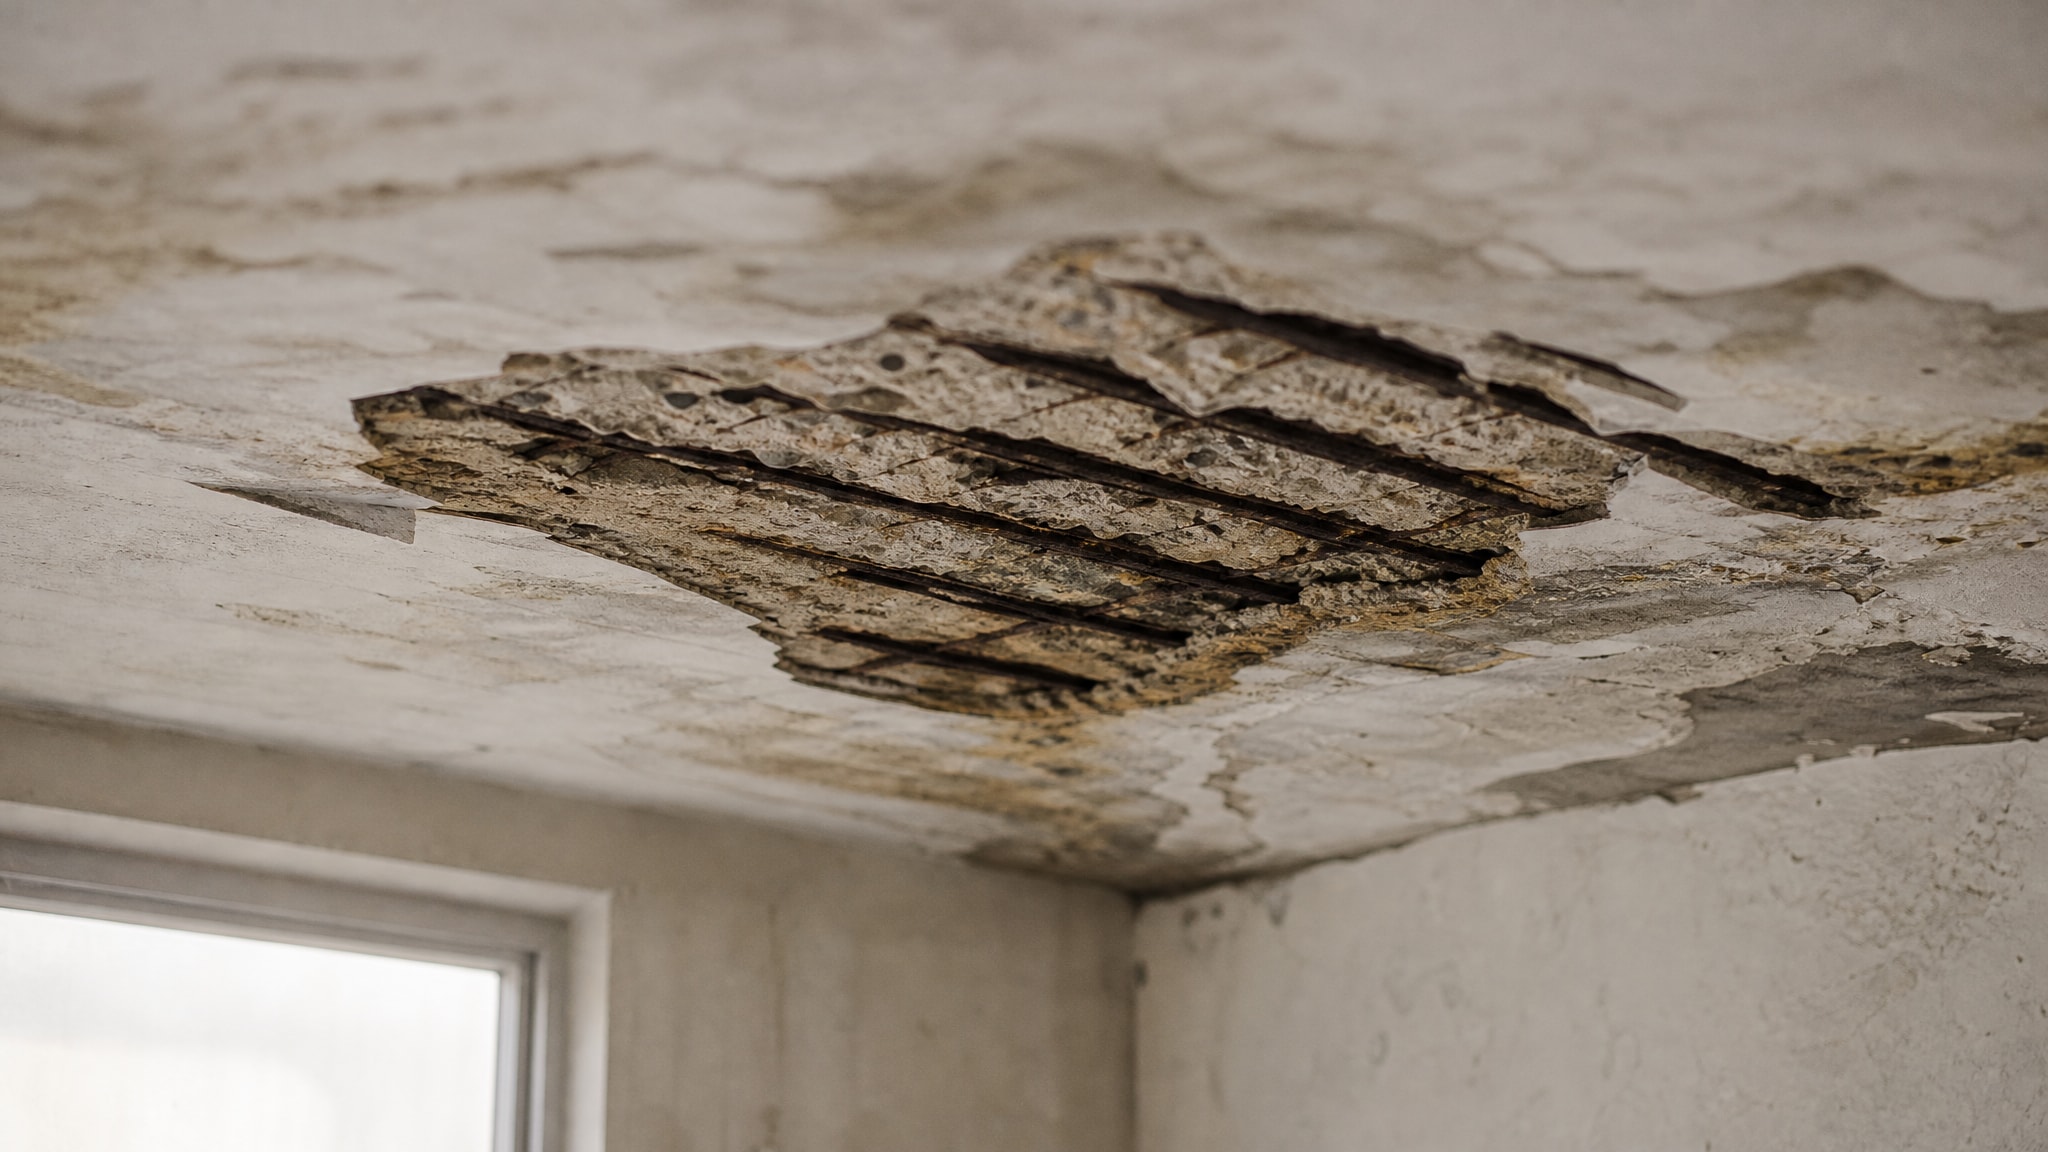
If the crack is widening, running across a large area, coming back quickly after repair, or accompanied by bulging paint, brown stains, mold, or a soft ceiling board, stop and inspect further. You may be dealing with water damage, loose plaster, failed drywall joints, or movement in the framing. Those cases need a more careful repair approach.
A simple rule helps here: if you press the area and it feels firm, dry, and stable, it is more likely a standard finishing repair. If it feels damp, crumbly, hollow, or loose, the damaged section may need to be cut out and rebuilt rather than patched on the surface.
Tools and materials for repairing wall and ceiling cracks
For most small to medium crack repairs, you will need a utility knife or scraper, putty knife, sandpaper, joint compound or patching compound, fiberglass mesh tape or paper tape, primer, and ceiling paint plus wall paint if both sides need touching up.
For plaster surfaces, some contractors prefer a finer finishing compound over a standard heavy filler because it sands smoother and blends better before painting. If there is a gap rather than a hairline crack, flexible paintable caulk may help in some corner joints, but it is not the right answer for every crack. Used in the wrong place, it can shrink, flash through paint, or fail early.
This is where experience matters. A quick repair can look good for one month. A proper repair is built for movement, adhesion, and a smooth final surface.
How to repair cracks between wall and ceiling step by step
Start by protecting the floor and nearby furniture. Even small ceiling repairs create dust, and sanding overhead gets messy fast.
Next, open the crack slightly with a utility knife or scraper. This step matters more than many people expect. If you apply filler over loose paint or a narrow closed crack, the new material often sits on top without bonding properly. By cutting out weak edges and creating a clean groove, you give the filler something solid to grip.
After opening the crack, remove dust and loose material. A dry brush or vacuum helps. If the area has peeling paint, flaking skim coat, or chalky plaster, keep scraping until you reach a sound surface.
If the crack is deeper or prone to movement, apply mesh tape or paper tape along the joint before building up compound. Tape reinforces the repair and reduces the chance of the crack reopening along the same line. For a very fine hairline crack in a stable area, some people skip this step, but that is often why the crack returns.
Apply the first coat of compound with a putty knife, pressing it firmly into the crack and over the tape if tape is used. Keep the coat tight and controlled. Thick patches take longer to dry, shrink more, and are harder to sand smooth.
Let it dry fully, then apply a second wider coat to feather the repair into the wall and ceiling surfaces. The goal is not just to fill the crack. The goal is to make the repaired area disappear once painted. That usually takes at least two coats, sometimes three, depending on the crack depth and surrounding texture.
When the compound is fully dry, sand the area smooth. Use a work light if possible, because side lighting reveals ridges and uneven edges that normal room lighting hides. This part takes patience. A clean paint finish starts here, not after the paint can is opened.
Before painting, apply primer over the repaired area. Fresh compound absorbs paint differently from the surrounding surface, so skipping primer can leave dull patches or visible flashing. Once primed, apply ceiling paint and wall paint as needed to blend the repair.
When caulk helps and when it does not
At the top edge where a wall meets a ceiling, some cracks are really failed paint lines or minor separations at a trim-like joint. In those cases, a high-quality paintable caulk can work well, especially if the gap is narrow and movement is minor.
But caulk is not a cure-all. If the crack is caused by loose plaster, failed drywall tape, moisture damage, or repeated structural movement, caulk only hides the problem for a while. It can also leave a softer line that reads differently under paint. For a cleaner and longer-lasting finish, many wall and ceiling repairs need compound, reinforcement, proper sanding, and repainting.
Common mistakes that make the crack come back
The most common mistake is patching over paint without removing loose material. The second is using the wrong filler for the surface. The third is rushing drying time between coats.
Another issue is ignoring moisture. If a roof leak, plumbing leak, condensation problem, or mold issue is active above the ceiling, no crack repair will last. The same goes for loose substrate. If the ceiling board or plaster is detached underneath, the surface finish will keep failing until the base is secured.
Paint-only touch-ups are also a short-term fix. Paint can hide a hairline crack for a while, but it does not rebuild the joint.
How professionals get a cleaner finish
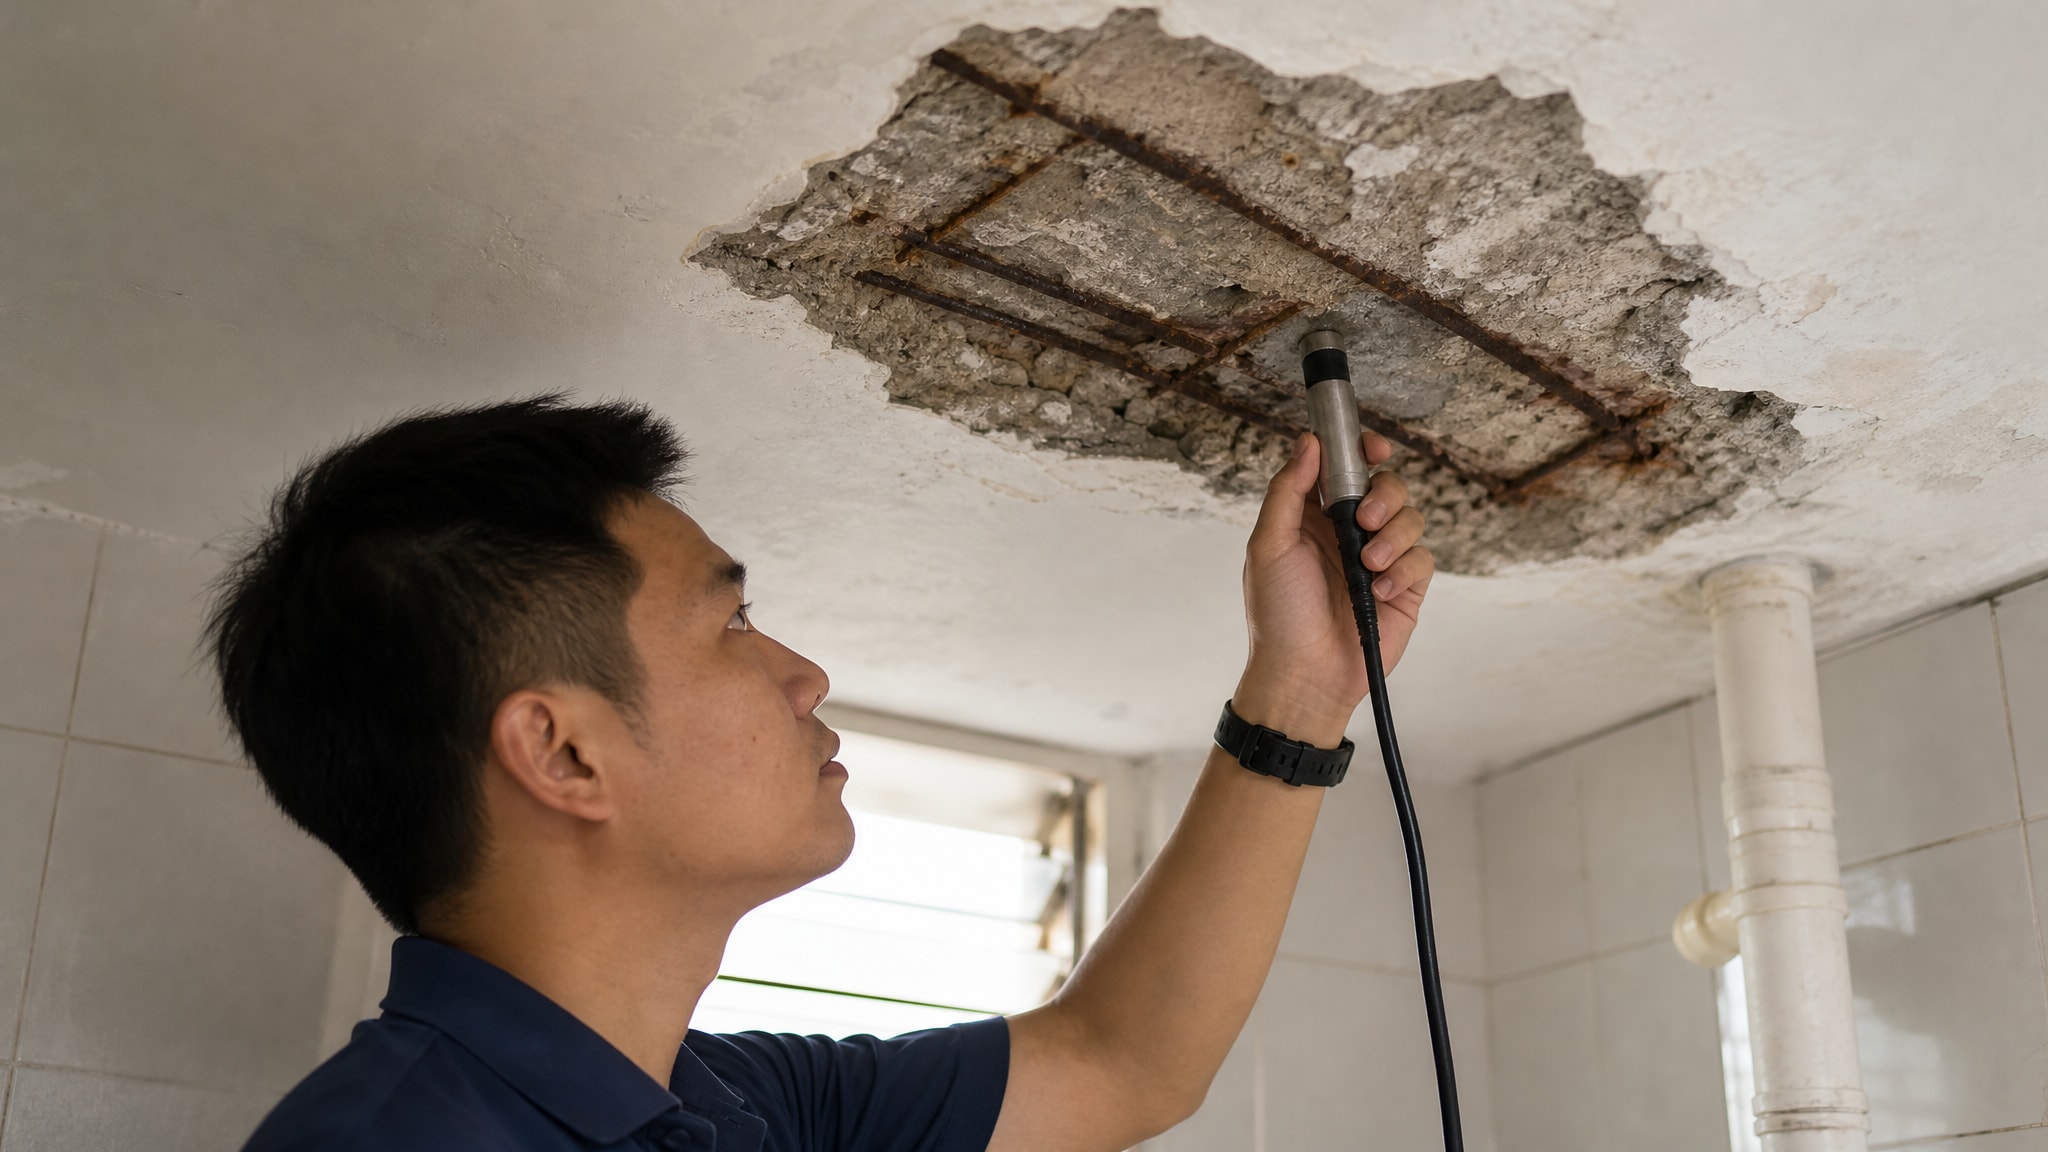
A contractor-led repair usually starts with diagnosis, not filler. That means checking whether the crack is from movement, water, poor original workmanship, or failing plaster. From there, the repair method is matched to the surface condition.
Professionals also spend more time on feathering and skim coating around the damaged area. That is why the final result looks flatter and more even, especially under ceiling light. On larger or recurring cracks, combining plaster repair and painting in one service flow also helps. The repaired section is prepared, leveled, sealed, and finished properly instead of being handed off halfway.
For homeowners and shop owners, that matters because the visible part is the finish. A repair is only successful if it blends in and stays sound.
Should you do it yourself or call a contractor?
If the crack is small, dry, stable, and easy to reach, a DIY repair can work. You will need steady prep, patience between coats, and care during sanding and painting.
If the crack is long, recurring, stained, moldy, near a leak, or part of a ceiling with peeling paint and uneven plaster, it is usually better to get it checked. The cost of doing the repair twice is often higher than getting it handled properly the first time.
An experienced repair team can also spot related issues fast, such as water-damaged skim coat, weak plaster bonding, or ceiling board movement. That saves time and avoids guesswork. Companies like Lengpainter often handle wall repair, plastering, skim coating, and repainting together, which makes the finish more consistent and the quotation clearer.
Cost depends on the real condition, not just the crack line
Many people ask for a crack repair price based on one photo. Sometimes that is enough for a rough estimate, but final cost usually depends on the crack length, whether tape is needed, whether the ceiling has water damage, how much sanding and skim coating is required, and whether full repainting is needed to blend the area.
A small cosmetic patch is one price. A recurring crack with loose plaster and ceiling repainting is another. Honest pricing should reflect the actual scope, not just the first visible line.
If you want the repair to last, treat the crack as a surface symptom and make sure the base condition is sound. A careful repair, done with the right prep and finishing steps, gives you a cleaner ceiling line, better paint appearance, and one less problem to keep noticing every day.
Comments