
Complete Guide to Skim Coating Walls

You usually notice bad walls at the worst time - right after old paint is removed, when ceiling stains start spreading, or when sunlight hits every crack and patch line. That is where a complete guide to skim coating becomes useful. Skim coating is one of the most effective ways to turn rough, uneven, repaired, or damaged walls into a smooth surface that is ready for primer and paint.
For homeowners and shop owners, skim coating is often the step that makes the difference between a wall that looks newly finished and one that still shows every old repair. It is not just about appearance, either. A proper skim coat helps cover hairline cracks, patch marks, minor dents, flaky areas after scraping, and uneven texture left behind from previous work. If the wall has bigger issues like moisture damage, hollow plaster, spalling concrete, or active leaks, those problems need repair first. Skim coating is a finishing step, not a shortcut around structural or water-related damage.
What skim coating actually does
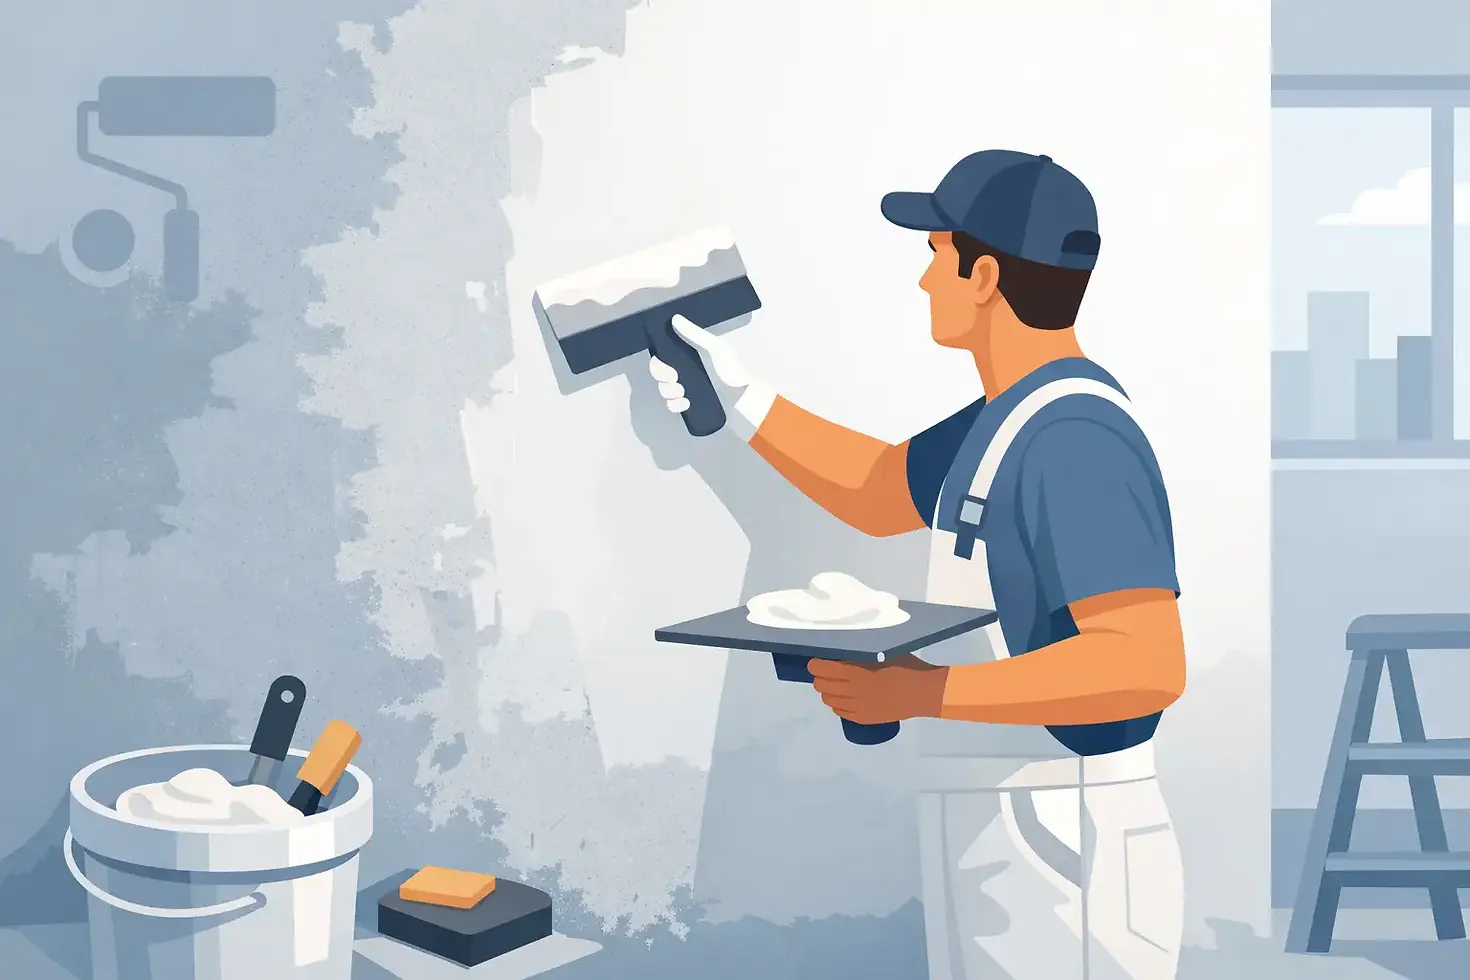
Skim coating is the application of a thin layer of finishing compound over a wall or ceiling to level out the surface. The goal is to create a flatter, cleaner base for painting. In older properties, this is especially useful because walls often have layers of patching, old paint buildup, surface scratches, and uneven plaster that become obvious after repainting.
A good skim coat does not need to be thick. In fact, thinner and more controlled application is usually better. The work depends on even hand pressure, proper mixing, clean tools, and patient sanding between coats when needed. That is why the final result often comes down to workmanship more than materials alone.
Complete guide to skim coating: when it is worth doing
Skim coating makes sense when the wall is generally sound but the surface is visually poor. If you have peeling paint that has been scraped off, old walls with many patch repairs, uneven textures, or ceilings with minor cosmetic defects, skim coating can save the finish. It is also common before repainting a unit that has not been maintained for years.
That said, not every wall needs full skim coating. Sometimes only selected areas need patching and touch-up plaster. Sometimes the existing wall is already flat enough for spot repair, primer, and paint. The right approach depends on how damaged the surface is, what finish you want, and how visible the wall will be under lighting.
For example, a bedroom wall behind furniture may not need the same level of perfection as a living room feature wall or a retail space with bright lighting. If you want a cleaner final paint result, especially with lighter colors or satin finishes, skim coating is often money well spent.
How professionals prepare before skim coating
Preparation is where many bad jobs go wrong. Before any compound goes onto the wall, loose paint, dust, grease, chalky residue, and unstable material need to be removed. If there are cracks, nail holes, water stains, bubbling paint, or hollow sections, those areas need attention first.
In some cases, the contractor will scrape, sand, patch, and seal the wall before skim coating starts. If moisture is present, the leak source or damp area must be handled first. Skim coating over an active problem only hides it for a short time. The finish may fail again, and then the repair cost goes up.
Clean masking and floor protection also matter. Skim coating can be messy during sanding, so proper site protection helps keep the job neat and reduces cleanup issues later.
The skim coating process from start to finish
The first step is mixing the skim coat material to the right consistency. If the mix is too thick, it drags and leaves lines. If it is too thin, it may sag, shrink too much, or need extra coats. Once mixed properly, the compound is applied in a thin pass using a trowel or broad knife.
After the first coat dries, the surface is checked for ridges, hollows, and visible defects. Light sanding may be done before the second coat. Most walls need at least two coats for a smoother result, although heavily damaged areas may need more local build-up before the final finishing pass.
Drying time depends on room ventilation, humidity, coat thickness, and product type. Rushing this stage is a common mistake. If sanding or recoating starts too early, the surface can tear, clog sandpaper, or develop weak spots.
Once the skim coat is fully dry and smooth, the wall is cleaned and prepared for primer. Primer should not be skipped. Fresh skim coat is porous, and primer helps the paint bond evenly and look more consistent.
Tools and materials that affect the result
A skim coat job looks simple until you see the difference between rough handwork and a clean finish. The common tools include trowels, broad knives, mixing buckets, sanding blocks or machines, ladders, scrapers, and protective sheets. The material may be joint compound, wall putty, or plaster-based finishing material depending on the wall condition and project type.
What matters most is matching the material to the surface and applying it with control. Some products are easier to sand, while others give a harder finish. Some are better for interior dry areas, while others are more suitable where durability matters. The best choice depends on the wall type, the previous coating, and the final paint system.
Common problems after skim coating
If skim coating is done poorly, the defects show up quickly. You may see trowel marks, sanding scratches, uneven flatness, powdery surfaces, flashing under paint, or small bubbles. These usually come from weak prep work, bad mixing, poor drying conditions, or trying to finish too quickly.
Another issue is using skim coating to hide problems it cannot fix. Deep cracks from movement, recurring water damage, and loose substrate need proper repair work first. A neat finish only lasts when the base underneath is stable.
This is why many clients prefer one contractor who can handle repair, plastering, and painting together. It keeps accountability clear and helps avoid the finger-pointing that happens when one party repairs and another party paints over it.
What affects skim coating cost
There is no single fixed price because wall condition changes everything. A relatively clean wall that only needs light leveling costs less than a heavily damaged wall with peeling paint, patch repairs, or ceiling water stains. Access also affects cost. High ceilings, stairwell walls, occupied units, and tight spaces all take more time.
The scope matters too. Some clients need only one room. Others need full-unit wall and ceiling skim coating before repainting. If repair work is required first, such as crack treatment, plaster patching, spalling concrete repair, or mold-damaged ceiling restoration, the estimate should separate those items clearly.
That is why site surveys and photo assessments are useful. Honest contractors do not throw out a random low number and fix it later. Clear quotation breakdowns help clients understand what is surface finishing, what is repair, and what is painting preparation.
Should you do it yourself or hire a contractor?
DIY skim coating is possible on small areas if you already have some repair experience and you are not expecting a showroom-perfect finish. For a spare wall or low-visibility room, it can be manageable. The learning curve is real, though. Getting a flat, even finish across large walls or ceilings takes practice.
For full-room work, older properties, or surfaces that need both repair and finishing, hiring a contractor is usually the safer and more cost-effective route. A poor skim coat job often leads to extra sanding, repainting, or complete rework. That means paying twice.
A professional team can also spot issues that homeowners miss, like weak plaster areas, moisture-related damage, or previous patching failures. That matters because the best finish starts with proper diagnosis, not just smoother compound.
Choosing the right contractor for skim coating
Look for a contractor who understands both plastering and painting preparation, not just one or the other. Ask how they inspect wall condition, what repair work they recommend before skim coating, how many coats are included, and whether sanding and priming are part of the process.
It also helps to choose a team that gives a clear quote, explains the scope in plain language, and keeps the worksite reasonably clean. Affordable pricing is important, but so is knowing what you are paying for. A cheap skim coat that still shows patch lines after painting is not a good deal.
If you are comparing options, ask for an on-site assessment or send photos first. Companies like Lengpainter often handle skim coating together with wall repair and painting, which makes the job more efficient and gives clients a cleaner final result with fewer coordination problems.
A smooth wall does not happen by chance. It comes from proper prep, steady handwork, and not cutting corners where they matter most. If your walls are tired, uneven, or full of old patch marks, the right skim coating job can make the whole space feel newer before the paint even goes on.


Comments