

Wall and Ceiling Repair Patches Explained

A small crack in the ceiling or a dent in the wall rarely stays small for long. What looks like a quick cosmetic issue often points to movement, moisture, impact damage, or weak plaster underneath. That is why wall and ceiling repair patches can be useful in some cases and a waste of money in others. The real question is not whether a patch can cover the damage. It is whether the repair will stay flat, stay bonded, and still look good after painting.
For homeowners and shop owners, this matters because a bad patch stands out even more after fresh paint goes on. You end up with a visible hump, a ring around the repair, or a crack that returns a few weeks later. If the problem came from a leak, poor adhesion, or crumbling substrate, the patch is only the surface step. The repair has to start deeper than that.
What wall and ceiling repair patches actually do
A repair patch is meant to bridge damaged areas and give filler or compound something stable to hold onto. In basic terms, it helps rebuild a section that has lost strength, especially around holes, cracks, peeling plaster edges, or cut-out sections from previous repair work. Some patches are self-adhesive mesh, some are metal reinforced, and some are fabric-based for crack control.
They are most useful when the surrounding surface is still sound. If the wallboard, plaster, or skim coat around the damage is stable, a patch can help create a clean repair area that can be filled, leveled, sanded, and painted. If the surrounding area is soft, damp, chalky, or separating from the base, then patching alone will not solve the problem.
This is where many repairs go wrong. People see a hole, buy a patch kit, apply filler, sand it quickly, and paint over it. The surface may look acceptable on day one, but after a short time the outline shows through, the patch loosens, or the crack reopens because the cause was never addressed.
When wall and ceiling repair patches are a good option
Wall and ceiling repair patches make sense for localized damage. That includes small holes from anchors or door impact, narrow stress cracks, minor ceiling blemishes after electrical access work, and isolated chips where the surrounding plaster is still firm. In these cases, the patch is part of a proper repair system, not a shortcut.
They also work well when the damaged section has defined edges and a manageable depth. A contractor can cut back loose material, secure the area, apply the patch where needed, build the surface with compound or plaster, then skim the wider area so it blends into the rest of the wall or ceiling. That wider skim matters more than many people realize. Without it, the eye catches the repaired spot immediately under side lighting or daylight.
For older homes and small commercial units, patching can also be a cost-effective choice when the damage is not widespread. You do not always need to replace a full ceiling section or reskim an entire room. Sometimes a neat local repair, followed by sanding and repainting, gives a strong result at a lower cost.
When a patch is not enough
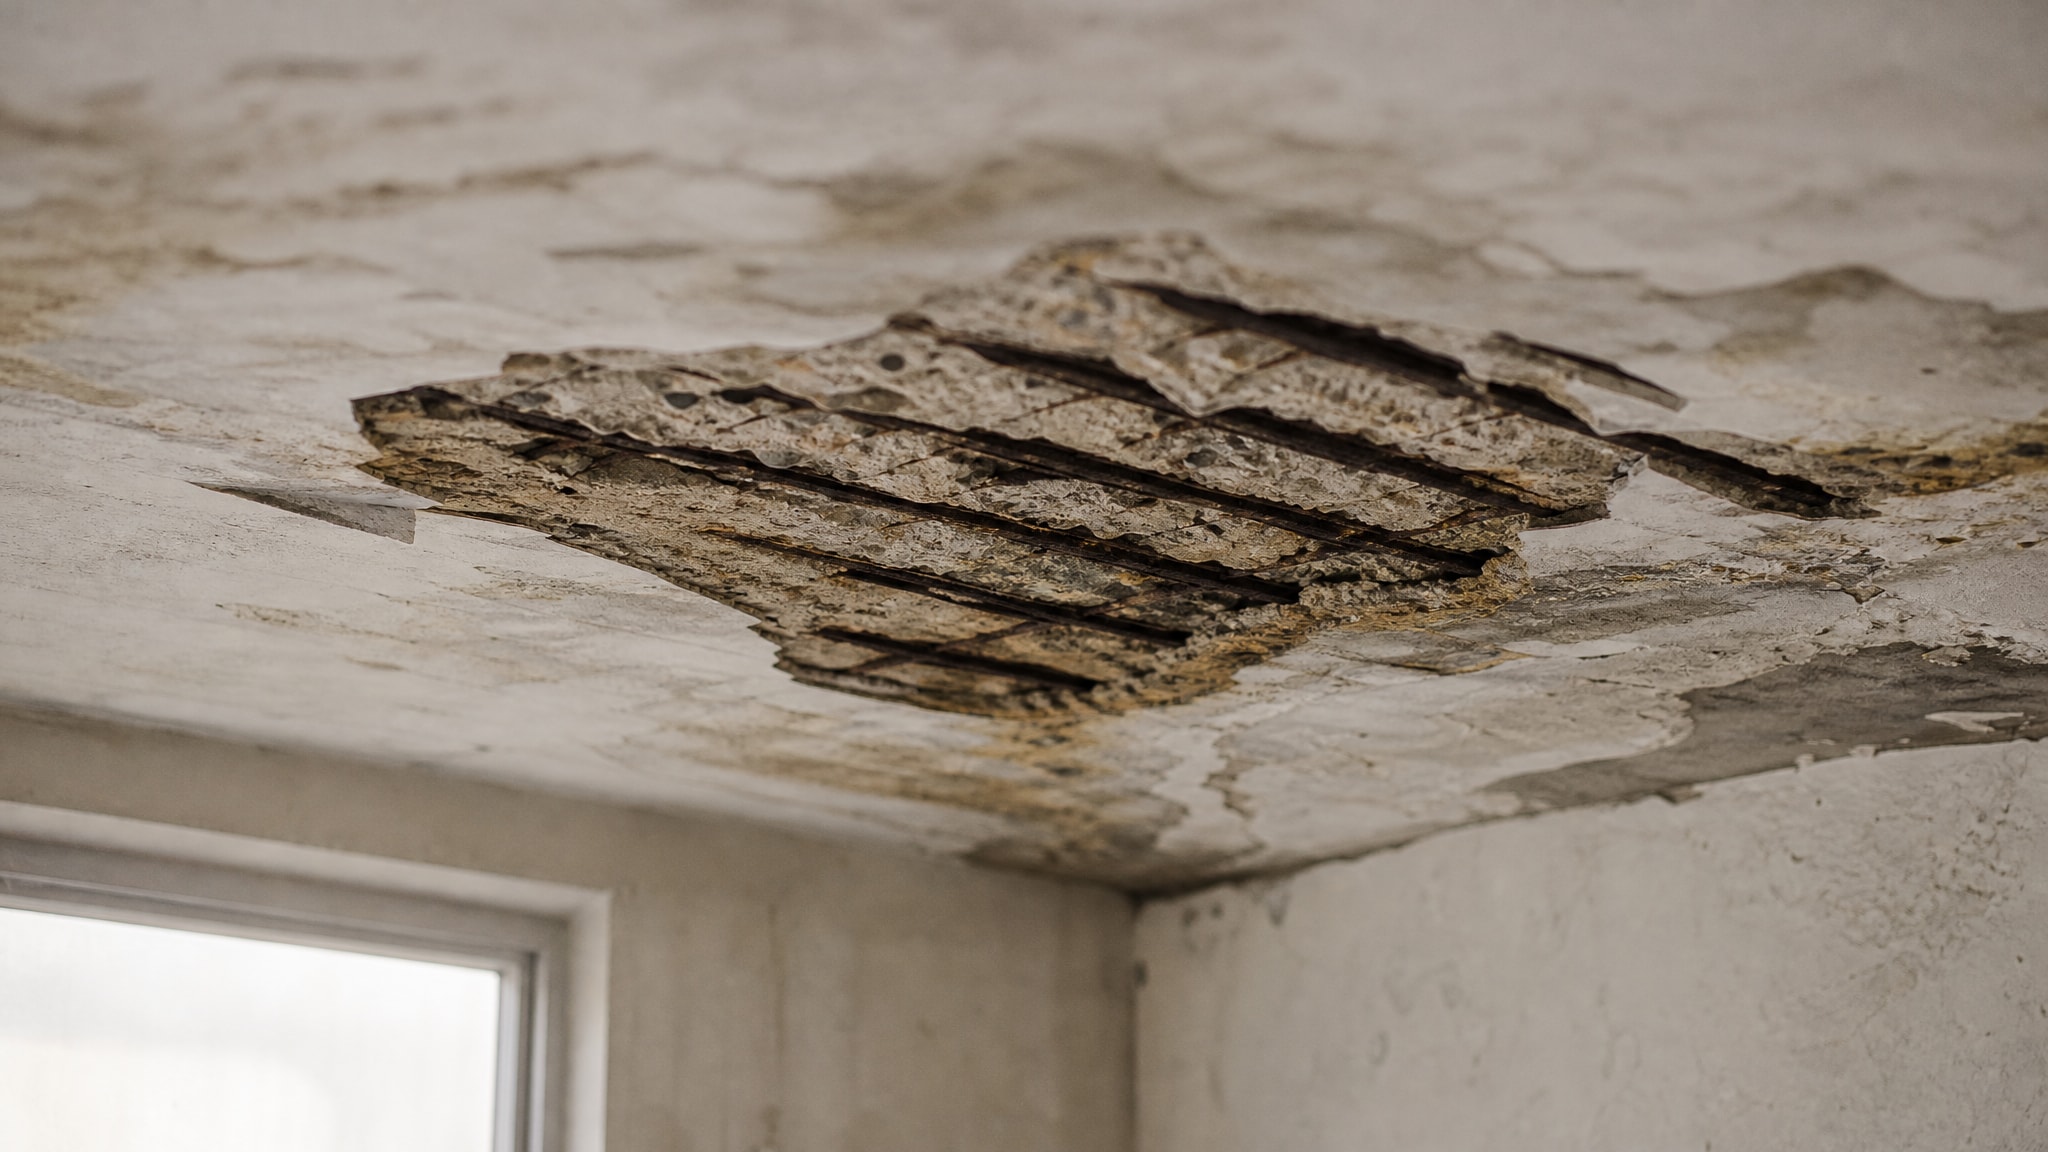
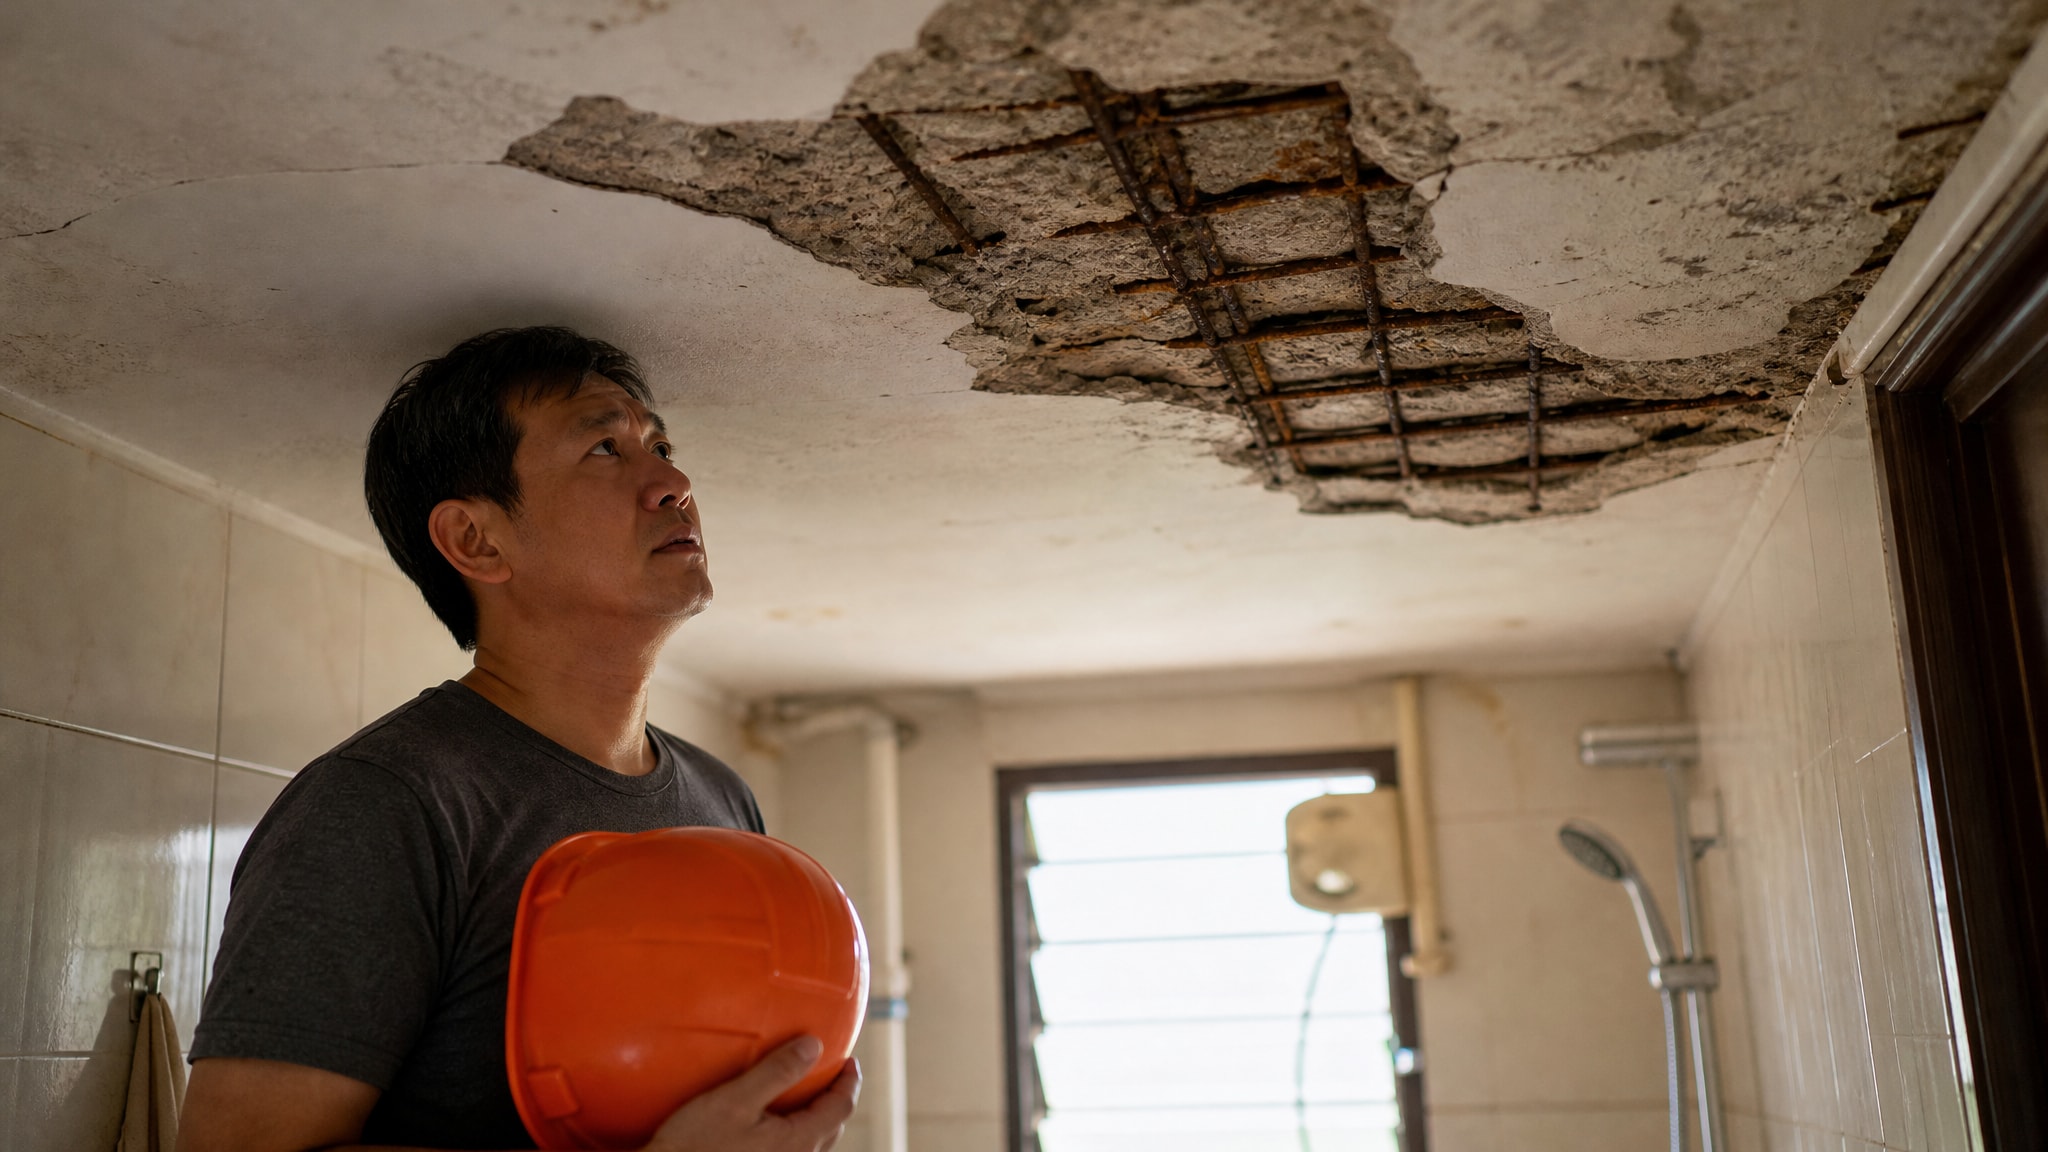
If the ceiling has water stains, bubbling paint, mold marks, sagging boards, recurring hairline cracks, or hollow-sounding plaster, the issue may go beyond surface damage. The same goes for walls with spalling concrete, active moisture, or repeated cracking along joints and corners. In those cases, applying a patch over the top may only trap the problem underneath.
Water damage is a common example. A ceiling patch may hide the damaged spot, but if the leak source is still active, the stain usually returns and the repaired area can soften or peel. With concrete or plaster failure, loose material needs to be removed fully before any rebuilding starts. If not, the new finish is only sticking to weak material.
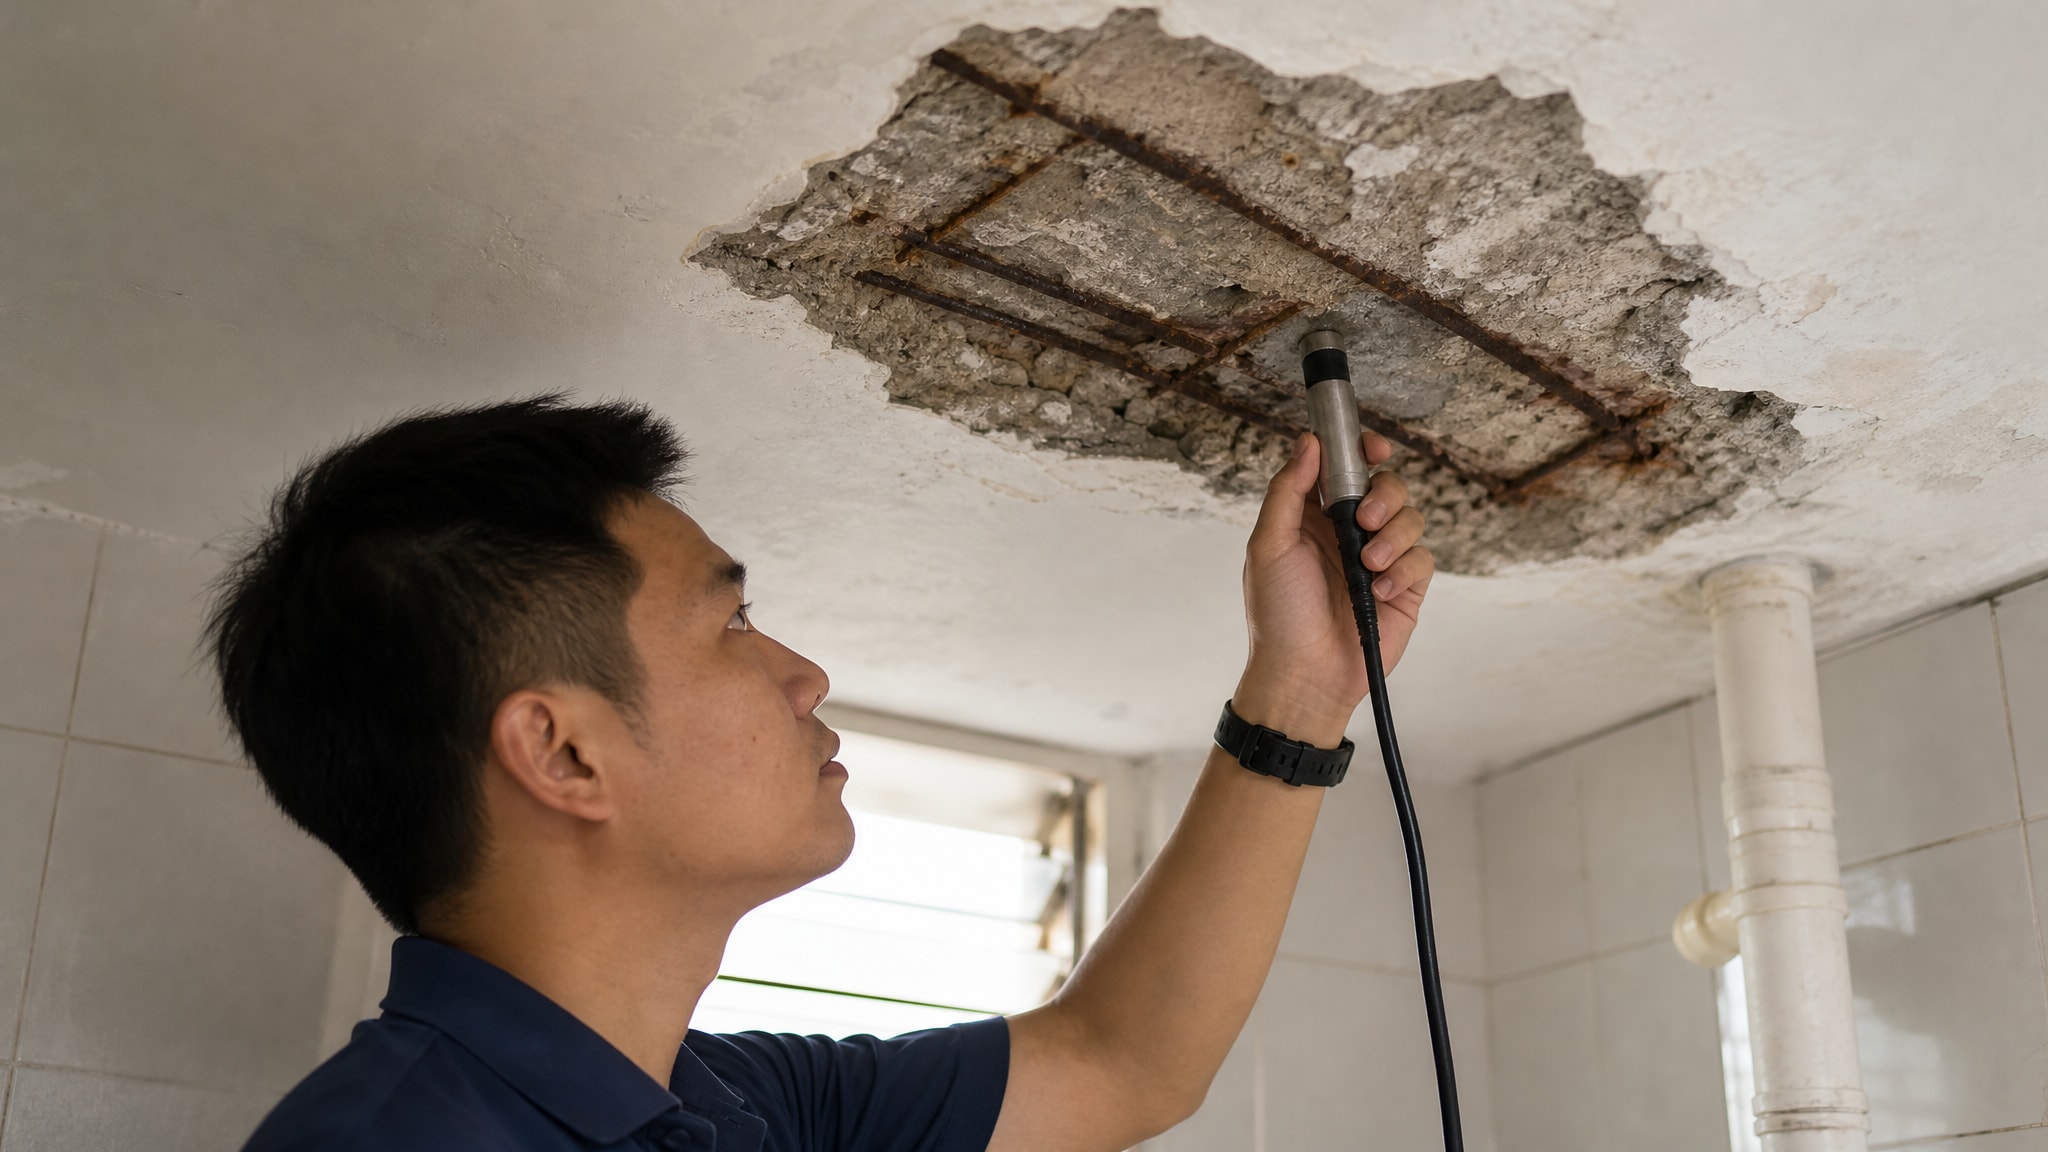
This is why experienced contractors spend time on preparation. They check for movement, tapping sounds, moisture signs, and edge stability before deciding whether to patch, skim, cut out, or replace. It saves rework later and gives the paint finish a better chance of lasting.
Why the finish matters as much as the patch
A patch repair is judged by what you see after painting. Even if the damaged spot is structurally improved, the job still looks poor if the surface is uneven. Ceiling repairs are especially unforgiving because light spreads across a wide flat plane. Any ridge, shallow dip, or rough sanding mark becomes visible once paint dries.
That is why patching and plastering should be treated as one process. First, the damaged section is stabilized. Then the area is built up in layers, allowed to dry properly, sanded flat, and skim coated if needed to feather the repair outward. Only after the surface is smooth and consistent should primer and paint be applied.
This is one of the practical advantages of hiring a contractor who handles both repair and finishing work. The patch itself is only one material in the sequence. The final appearance depends on how the base is prepared, how the skim coat is leveled, and how the paint is applied over the repaired section.
Common patching mistakes that cause visible repairs
The biggest mistake is repairing only the center of the damage and ignoring the edges. Loose paint, dusty surfaces, and weak plaster around the patch prevent good adhesion. Another common problem is using too much filler at once. Thick application can shrink, crack, or create a raised spot that is difficult to hide.
Poor sanding is another issue. If the contractor or homeowner sands only the center and not the feathered perimeter, the repair leaves a ring that shows under paint. Skipping primer also causes trouble, because patched areas often absorb paint differently than the existing wall or ceiling. The color may match, but the sheen and texture do not.
Then there is the temptation to patch everything. Long recurring cracks, damp ceiling corners, and damaged concrete edges often need more than mesh and compound. They may require source repair, hacking off loose material, anti-mold treatment, replastering, or section replacement.
How a proper repair process should look
A reliable repair starts with inspection. The damaged area should be checked for moisture, hollow spots, loose paint, crumbly plaster, or hidden movement. After that, all unsound material must be removed. This is not the glamorous part of the work, but it is the part that determines whether the repair lasts.
Once the base is clean and stable, the right patching method is chosen for the defect. Small holes may need mesh support. Cracks may need opening up and reinforcing rather than just covering the surface line. Uneven areas may need plaster build-up followed by skim coating over a wider section.
After drying, sanding should level the repair without scarring the surrounding surface. Then comes primer and paint matching. On ceilings especially, repainting one small spot can leave flashing or texture differences, so sometimes the better result is to repaint the broader section for a uniform finish.
At Lengpainter, this kind of work is approached as repair first, finish second, not the other way around. That keeps the final result cleaner and helps clients avoid paying twice for the same defect.
Cost, durability, and what affects the price
Patch repairs are usually more affordable than full replacement, but price depends on what is behind the visible damage. A simple wall dent repair is very different from a water-damaged ceiling with peeling skim coat and stain blocking needs. Access height, repair size, moisture treatment, skim coating area, and repainting scope all affect cost.
The cheapest option upfront is not always the most affordable result. A quick patch that fails in a month means more labor, more paint, and more disruption. A properly prepared repair costs more than a basic patch kit job, but it usually delivers better value because the surface stays intact and looks right.
For property owners trying to control budget, the best approach is a clear site assessment and transparent quote. That way you know if the issue is a simple patch, a wider plastering job, or a leak-related repair that needs other trades involved first.
Should you patch it yourself or call a contractor?
For very minor wall damage, a DIY patch can be fine if you have the patience to prep, fill, sand, and repaint carefully. But ceilings, visible living areas, recurring cracks, and any moisture-related damage are usually better handled by a professional. The repair needs to be flat, stable, and clean enough to disappear after painting. That is harder than it sounds.
A good contractor also helps you avoid misdiagnosing the problem. What looks like a simple cosmetic crack may be movement at a joint. What looks like a stain may still be active moisture. Fixing the wrong thing wastes time and money.
If you are looking at damaged walls or ceilings and wondering whether a patch will do the job, the safest answer is this: patch the surface only after you understand the cause. A neat repair is not just about covering a defect. It is about leaving the room looking clean, solid, and ready to stay that way.
Comments