

How to Repair Plaster Walls and Ceilings

A hairline crack above the doorway is one thing. A ceiling stain that keeps growing, loose plaster that sounds hollow, or chunks falling near a window is another. If you are looking up how to repair plaster walls and ceilings, the main question is not just how to patch it. The real question is whether the damage is cosmetic, structural, or caused by moisture that will come back if the root problem is ignored.
Plaster can last for decades when it is repaired properly. It also punishes rushed work. A quick filler job may look fine for a few weeks, then the crack reopens, the patched area flashes through paint, or the ceiling starts peeling again. That is why the repair method has to match the actual condition of the wall or ceiling, not just the visible mark.
How to repair plaster walls and ceilings the right way
The first step is diagnosis. Old plaster behaves differently from modern drywall, and not every crack means the same thing. Fine surface lines can come from age, minor movement, or old paint buildup. Wider cracks, sagging sections, bubbling paint, soft spots, and brown water marks usually point to a bigger issue.
A good repair starts with checking three things: adhesion, moisture, and finish level. Adhesion means whether the plaster is still firmly bonded to the surface behind it. Moisture means whether a roof leak, plumbing leak, condensation, or mold problem is still active. Finish level means how smooth the final area needs to be, especially if the wall will be painted in a light color or exposed to side lighting.
If you skip those checks, you can waste time patching over a problem that will show again.
Small cracks and surface imperfections
Hairline cracks are the simplest repairs, but they still need proper prep. If you just spread filler on top, the repair often sits on loose paint or weak edges. The better approach is to open the crack slightly, remove dust, and apply the right patching compound so it can grip the surface.
For very minor wall cracks, a flexible filler can work well. For plaster that has uneven texture or old layered paint, a skim coat may be the better choice because it blends a wider area and helps avoid visible patch marks after painting. This is especially true on older ceilings, where one patched line can stand out badly under ceiling lights.
The trade-off is time. A basic crack fill is cheaper and faster, but skim coating gives a cleaner finish when appearance matters.
Medium holes and broken plaster sections
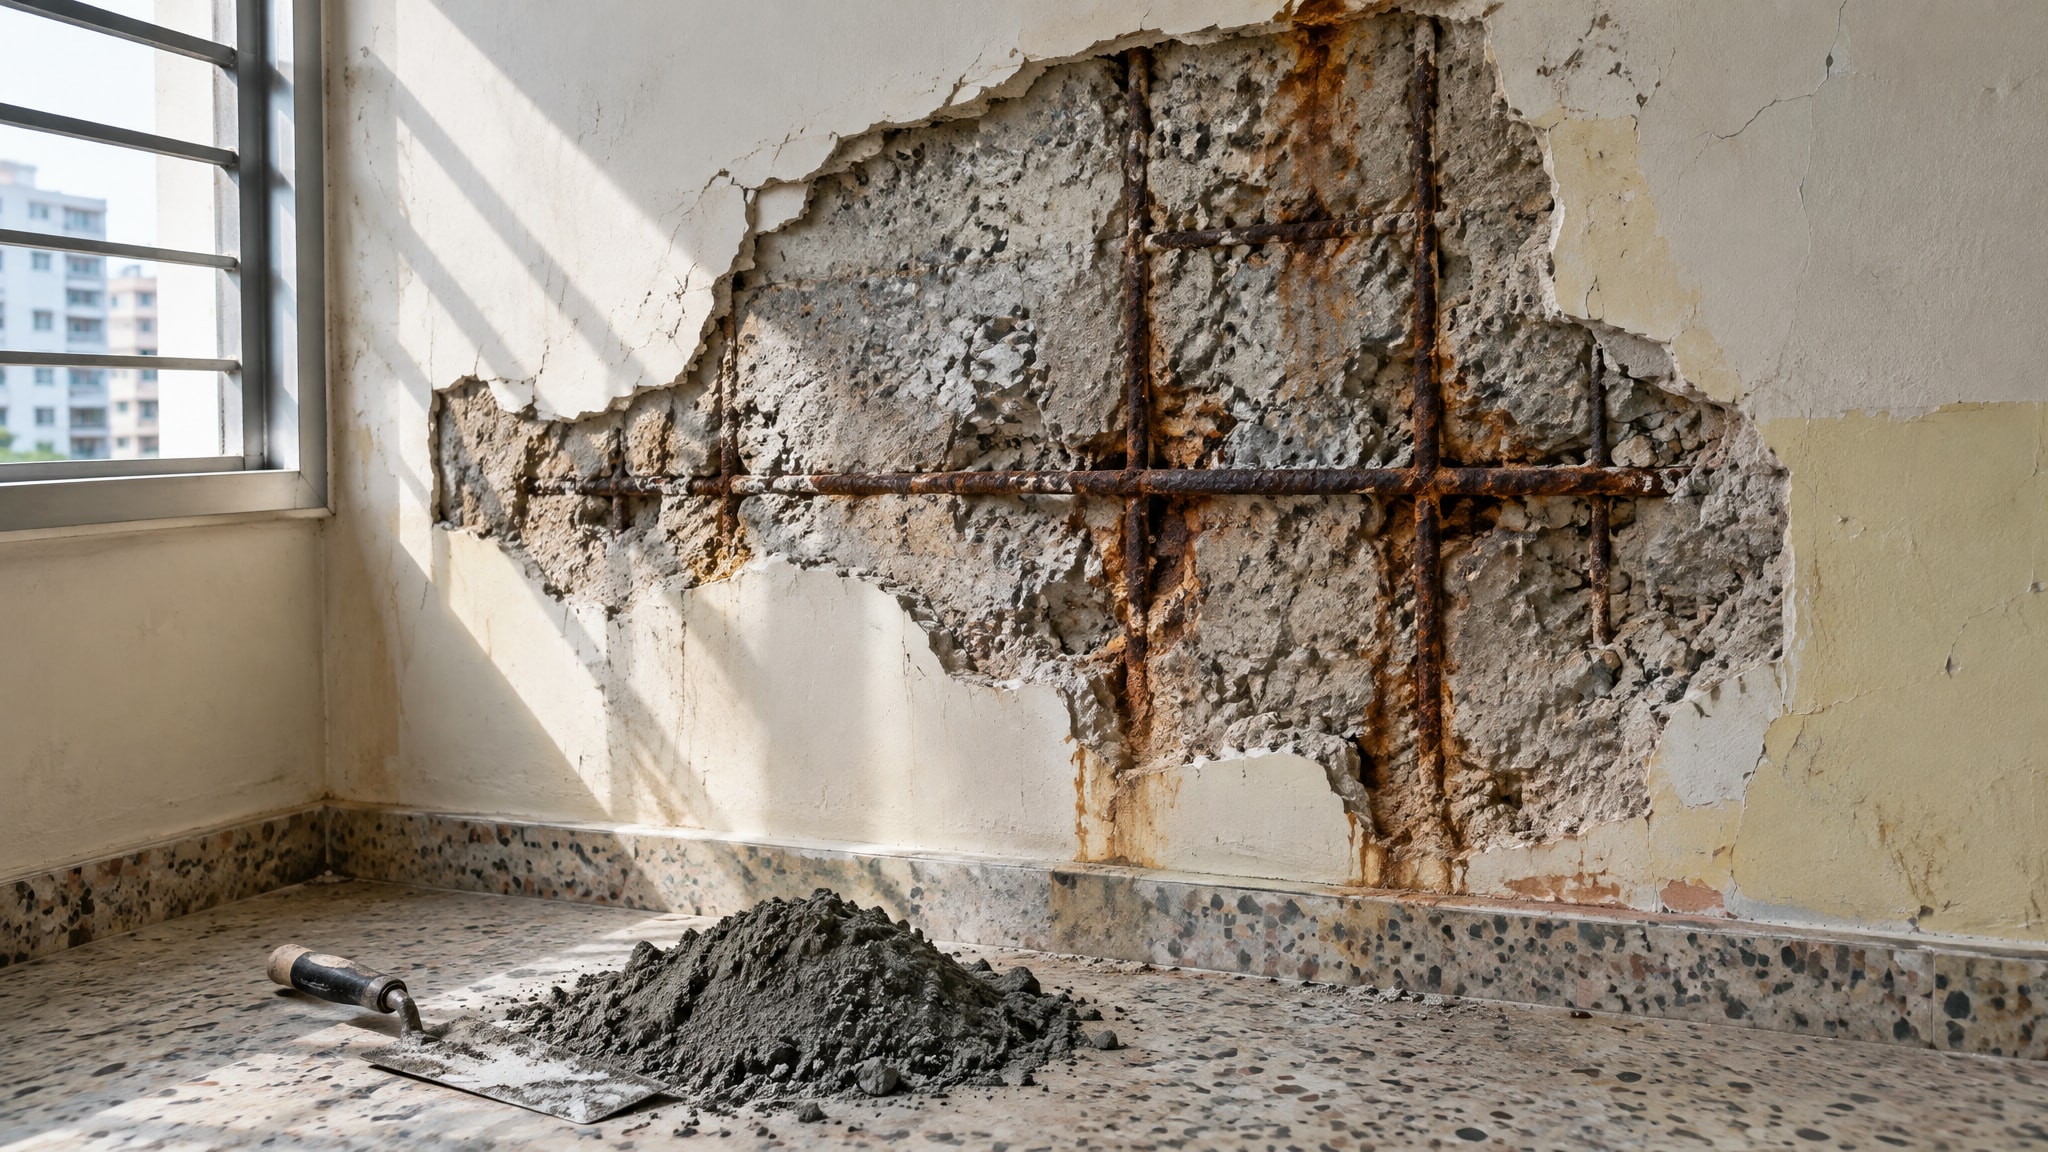
When plaster is chipped, dented, or broken in a localized area, the damaged section must be cut back to solid material. Any crumbly edges, loose pieces, or hollow sections around the hole should be removed first. Patching over weak material usually leads to edge failure later.
After that, the area is rebuilt in layers. Depending on the depth, that may mean a base repair compound first and a finish coat afterward. Deep holes should not be overfilled in one pass because the material can shrink, crack, or dry unevenly. Once the patch is set, sanding and feathering are what make the repair disappear under paint.
This is where workmanship shows. A wall can be technically repaired but still look poor if the patched section is too flat, too proud, or not blended properly into the existing surface.
Water-damaged plaster ceilings
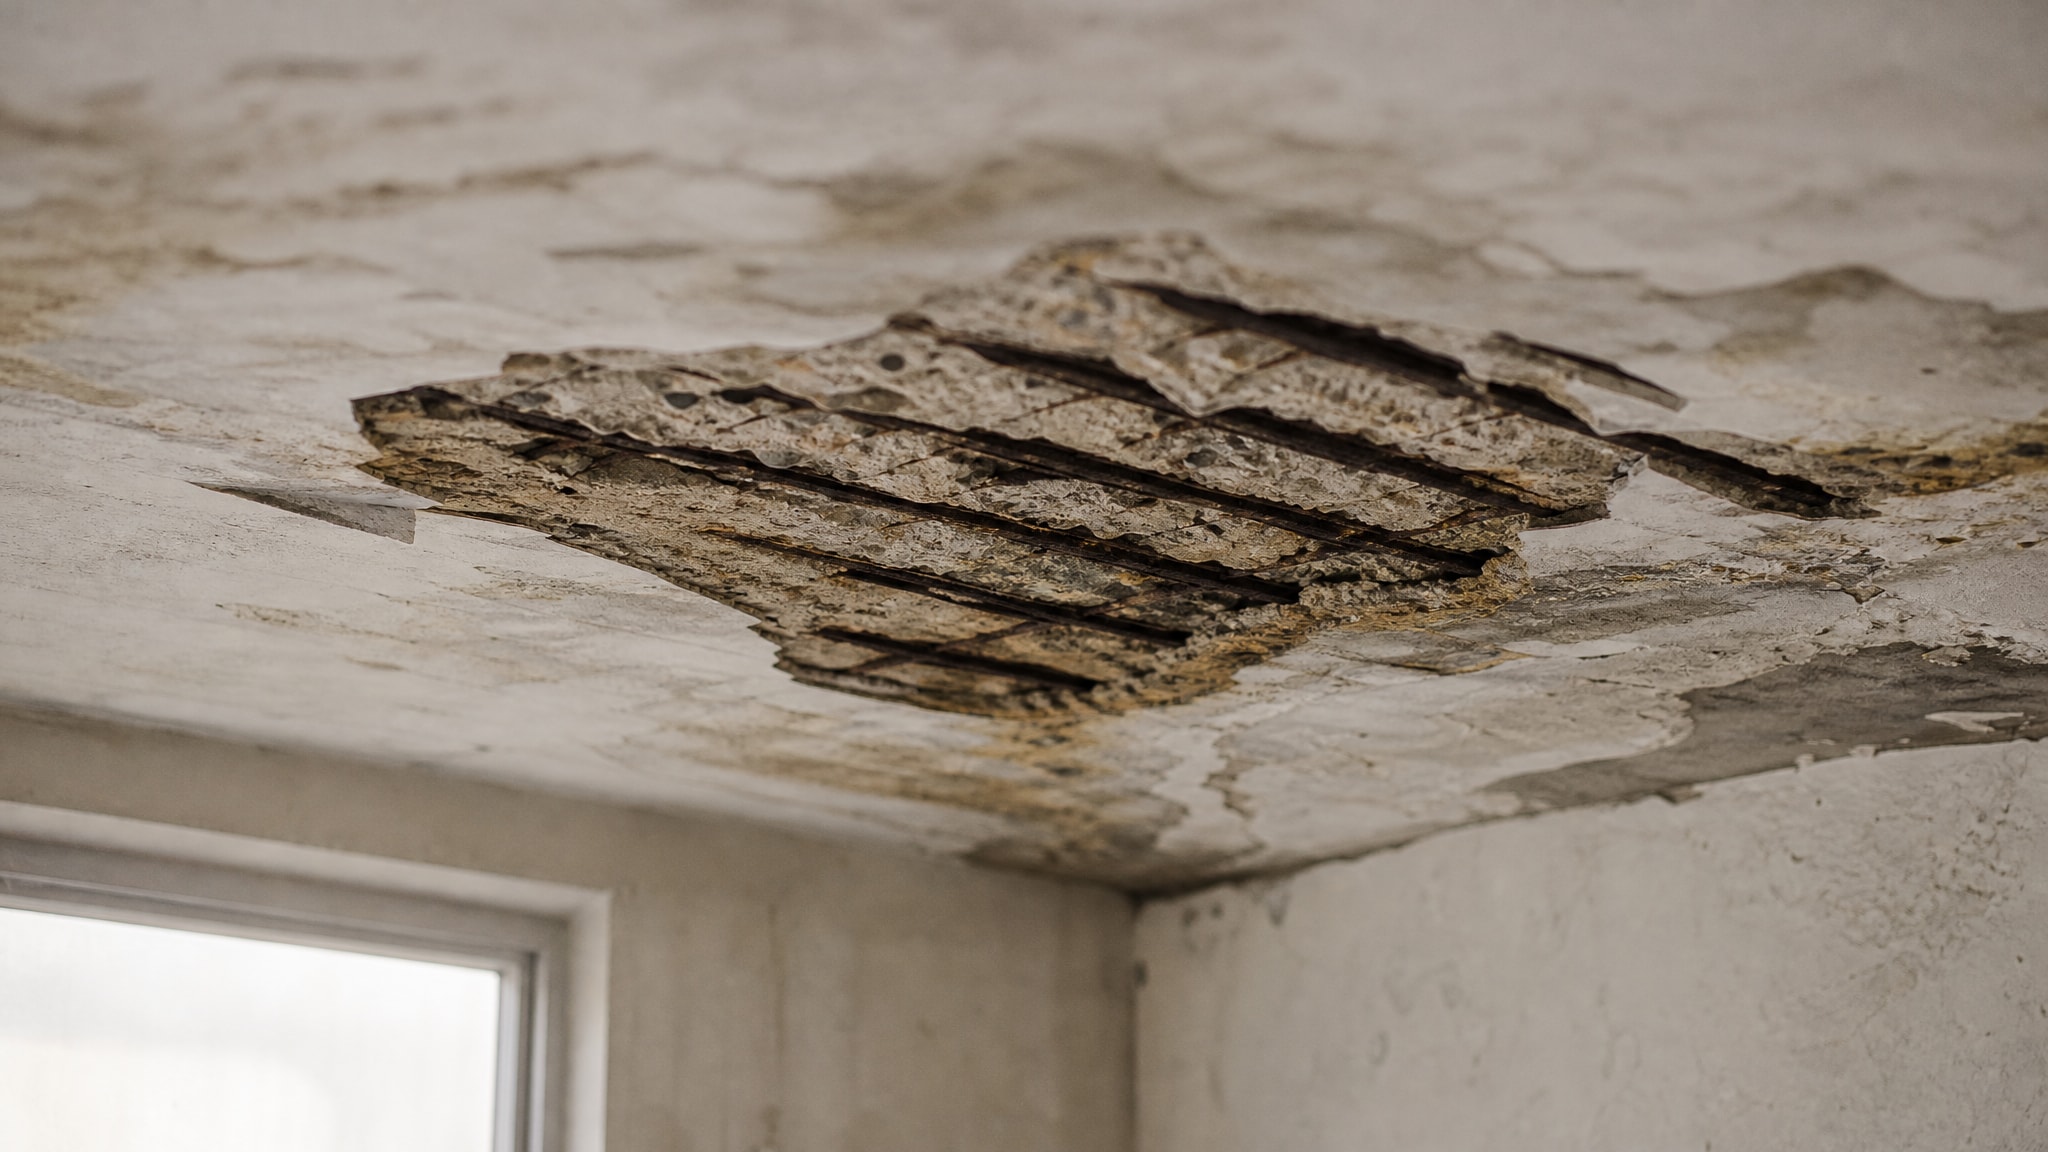
Ceilings are where many plaster problems turn serious. If you see staining, bubbling, peeling paint, or sagging plaster, the leak source must be fixed first. There is no honest shortcut here. If moisture is still active, repainting or plaster patching is only temporary.
Water damage also changes how strong the plaster is. Some ceilings dry out and can be repaired with scraping, treatment, patching, and skim coating. Others become soft, detached, or unsafe, which means partial removal and rebuilding is the safer route.
Mold is another factor. If a ceiling has repeated moisture exposure, treatment may be needed before refinishing. The visible stain is not the only concern. Odor, trapped dampness, and recurring paint blistering usually mean the substrate needs more than cosmetic repair.
When plaster repair is enough and when replacement makes more sense
Not every damaged plaster surface needs full replacement. In many homes and small commercial spaces, solid but worn plaster can be restored successfully. Cracks, old patch marks, rough texture, and paint damage can often be corrected with proper preparation and skim coating.
But there are limits. If large sections sound hollow, the ceiling is sagging, or repeated water damage has weakened the bond, replacement may be more cost-effective than repeated patching. The cheapest quote is not always the lowest final cost if the same area has to be repaired again six months later.
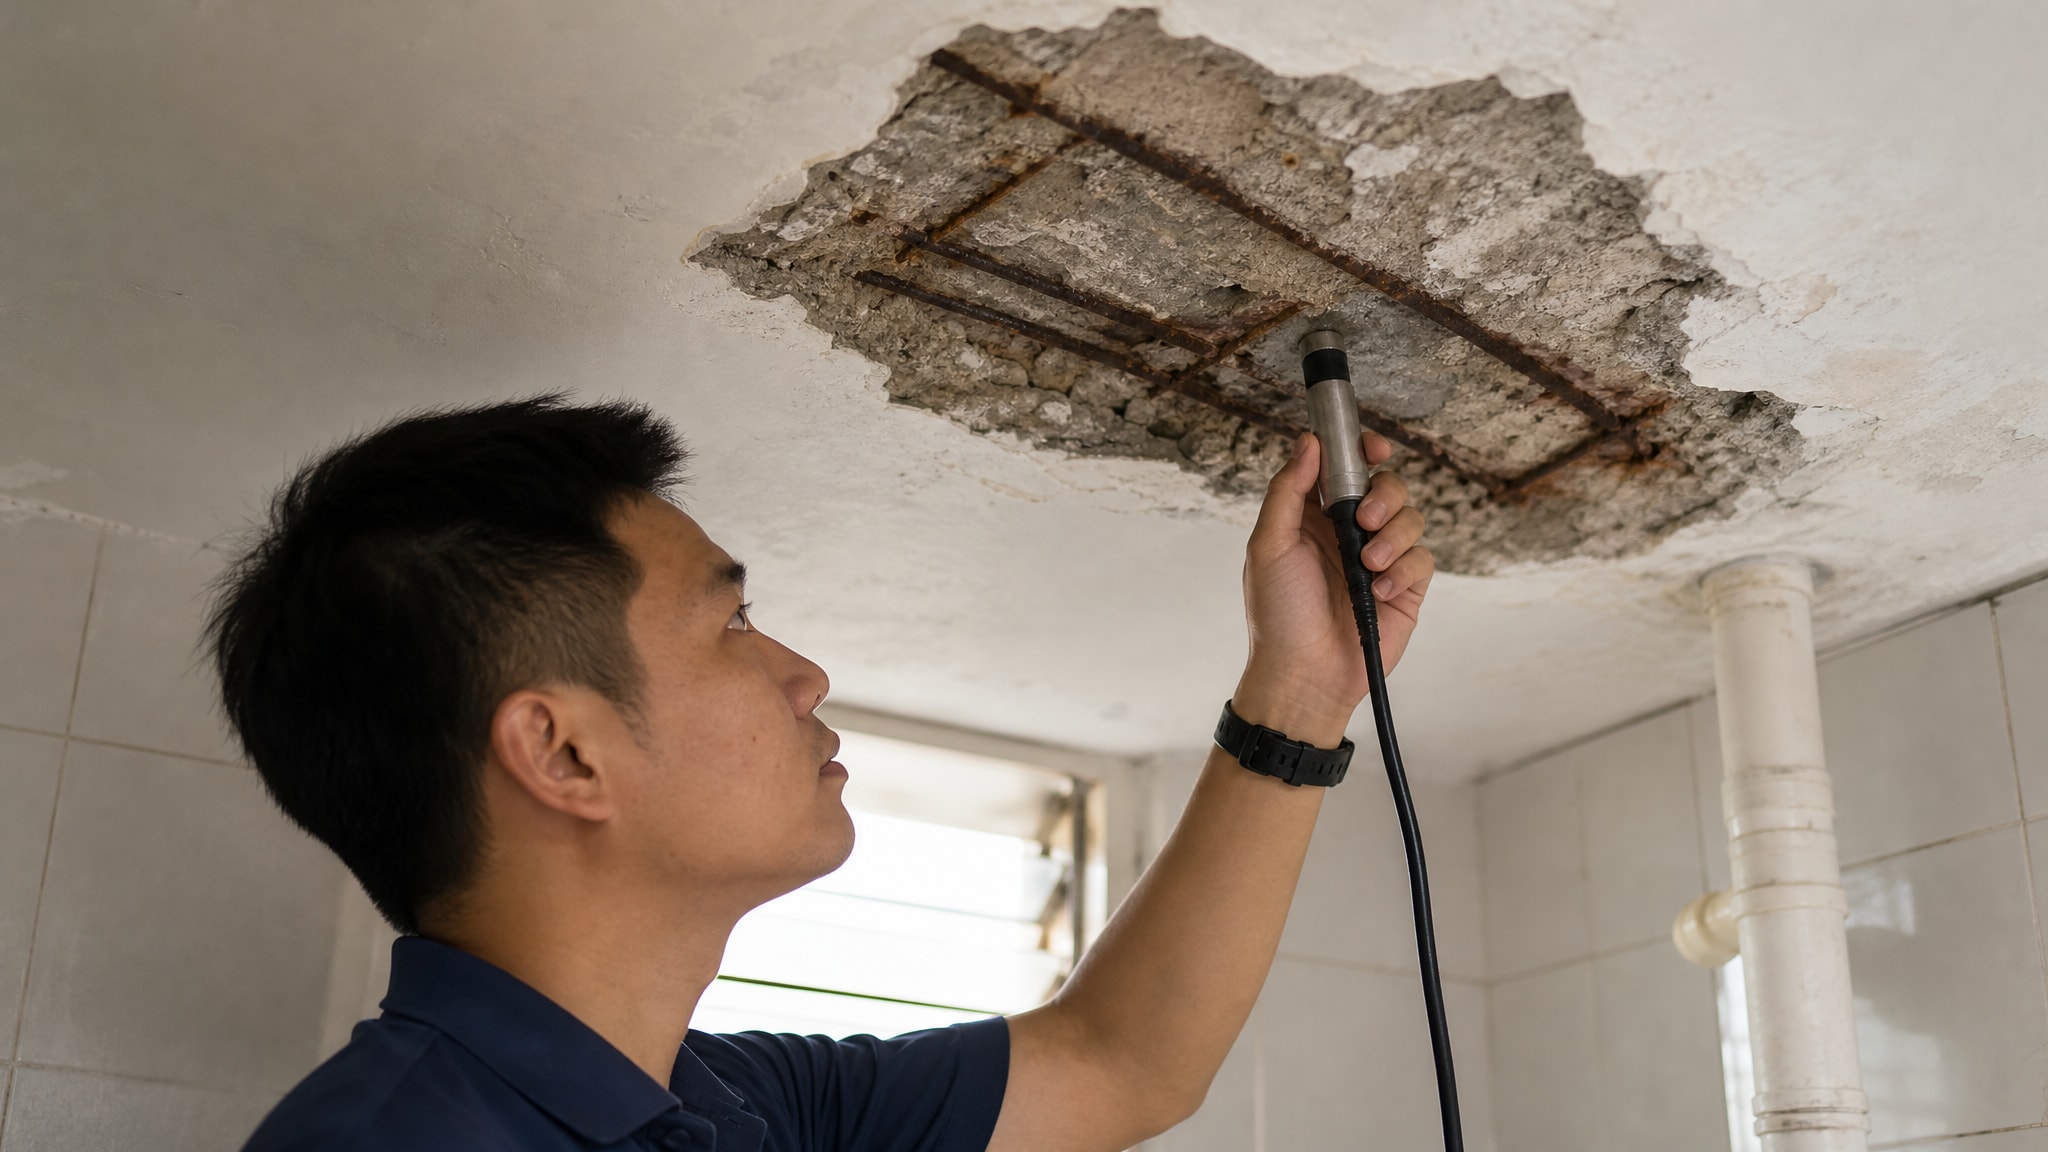
This is why a site check matters. Photos help for a rough estimate, but tapping the surface, checking moisture conditions, and looking at previous paint or plaster layers usually tells a clearer story.
The repair process that gives a smoother paint finish
Many people think plaster repair ends once the crack or hole is filled. In practice, the visible result depends just as much on the finishing steps. A patched wall that is not leveled, sanded, sealed, and prepared correctly will still show through fresh paint.
The usual process is straightforward but has to be done carefully. Loose paint and weak plaster are removed first. Cracks or holes are patched with the right compound. Uneven surfaces are skim coated if needed. Then the area is sanded smooth, dust is cleaned off, and the surface is sealed before painting.
This combined plaster-and-paint workflow is where experienced contractors save clients trouble. If one team handles both repair and finishing, the wall texture, edge blending, and final paint appearance are easier to control. It also avoids the common problem of one contractor blaming another when patch marks show later.
Why skim coating is often the difference-maker
Skim coating is one of the most useful solutions for old plaster walls and ceilings that are generally sound but look tired. Instead of chasing every small defect one by one, a skim coat creates a fresh, even surface across a broader area.
It is especially useful when a wall has multiple hairline cracks, patchy previous repairs, sanding scars, or uneven paint buildup. On ceilings, it can help restore a cleaner, flatter look before repainting. It is not the right fix for every severely damaged surface, but for many aging interiors it gives a much neater result than isolated filler work.
For clients focused on value, this is often the sweet spot between minor patching and full replacement.
Cost factors homeowners should expect
Repair cost depends on extent, access, and finish expectations. A simple crack touch-up on a wall is very different from repairing a water-damaged ceiling over a stairwell or restoring multiple rooms with uneven old plaster.
The main factors are the size of the damaged area, whether moisture treatment is needed, how many coats of repair are required, and whether the area needs full skim coating before paint. Ceiling work often costs more than wall work because it is slower, harder to access, and more demanding to finish cleanly.
Transparent pricing matters here. A proper quote should explain whether it covers patch repair only, skim coating, stain blocking, repainting, and any prep work needed to protect floors and furniture. That way, there are fewer surprises once the job starts.
Choosing a contractor for plaster wall and ceiling repair
If the repair is visible, overhead, or related to leaks, experience matters more than promises. You want a contractor who can assess the surface honestly, explain whether repair or replacement is the better option, and finish the area neatly enough that it does not stand out after painting.
Look for practical signs of trade knowledge. Can they explain why the damage happened? Do they talk about prep work, sanding, skim coating, and paint finishing rather than only patching? Are they clear about cost and scope? That usually tells you more than sales language.
Lengpainter handles this kind of work with the repair and finishing process planned together, which helps clients get a smoother result without juggling separate plaster and paint crews.
If your plaster walls or ceilings are cracked, stained, bubbling, or simply worn out, the best next step is not guessing from the floor. Get the surface checked properly, get a clear quote, and fix it before minor damage turns into a larger and more expensive repair.
Comments