
HDB Toilet Floor Tile Crack Repair Singapore: Full Guide

Updated: Aug 18

A crack in your HDB toilet floor tile can look like a minor annoyance, until it isn't. In Singapore's high-humidity climate, moisture gets into the screed layer fast, weakening adhesion across neighbouring tiles and, in the worst cases, tracking down through the slab to cause toilet ceiling water stains caused by floor leaks above in the unit below. If you're dealing with hdb toilet floor tile crack repair in Singapore, this guide walks you through the likely causes, how to judge severity, and which fix is actually right for your flat.
HDB flats make up around 80% of Singapore's residential housing stock. That means the overwhelming majority of toilet floor tile crack problems here happen in a concrete-frame, screed-bedded construction context, not the timber subfloor scenarios that dominate Western repair guides. That matters, because the failure patterns and repair methods are different.
Why HDB Toilet Floor Tiles Crack: Common Causes
Settlement, Shrinkage, and Age
Concrete moves. Over decades, the structural slab and the screed bed laid on top of it shift slightly as loads change and moisture cycles in and out. In older HDB blocks, particularly those built before the early 2000s, Leng Painter's repair crews regularly find that the original tile adhesive has dried out and cracked screed sits beneath what looks like a minor surface crack. It is a common pattern in that generation of flats.
Poor original workmanship also plays a role. Tiles laid without adequate adhesive coverage, or over screed that wasn't properly cured, are prone to cracking years later even without unusual stress. Grout lines that were never sealed tend to fail first, letting water in and accelerating the problem.
Water Leak and Moisture Damage Underneath
A slow leak from a floor trap, a faulty waterproofing membrane, or even condensation from years of use can saturate the screed beneath your tiles. Wet screed loses its structural integrity, it crumbles, loses its bond with the tile, and eventually causes toilet floor tiles to lift. If you notice tiles that feel springy underfoot or sound hollow when you walk across them, trapped moisture is almost certainly involved.
This is why a grout crack toilet floor repair in Singapore should never be treated as a purely cosmetic job without checking what's underneath first.
Structural Crack vs. Surface or Grout Crack: How to Tell the Difference
Not every crack is an emergency. But misreading the signs costs money, either by under-repairing a serious problem or by doing unnecessary full replacements. For help identifying hairline vs. structural concrete cracks in HDB flats, the distinction below is the starting point.
Signs of a Surface or Grout Crack
The crack runs along a grout line and is narrow (hairline width).
The tile surface on either side of the crack sits flush, no height difference.
Tapping the tile produces a solid sound, not a hollow one.
The crack is isolated to one or two tiles, not spreading across a pattern.
There are no water stains on the ceiling of the unit below.
These are cosmetic issues. Grout resealing or a targeted tile repair is usually enough.
Warning Signs of a Structural or Foundation Crack
The crack runs diagonally from a tile corner toward a wall junction, a textbook sign of screed settlement, not surface wear.
One edge of the crack sits higher than the other (called lipping).
Multiple tiles in the same zone feel hollow or loose underfoot.
Tiles are lifting along the perimeter wall junction or near the floor trap, two spots where water accumulates first.
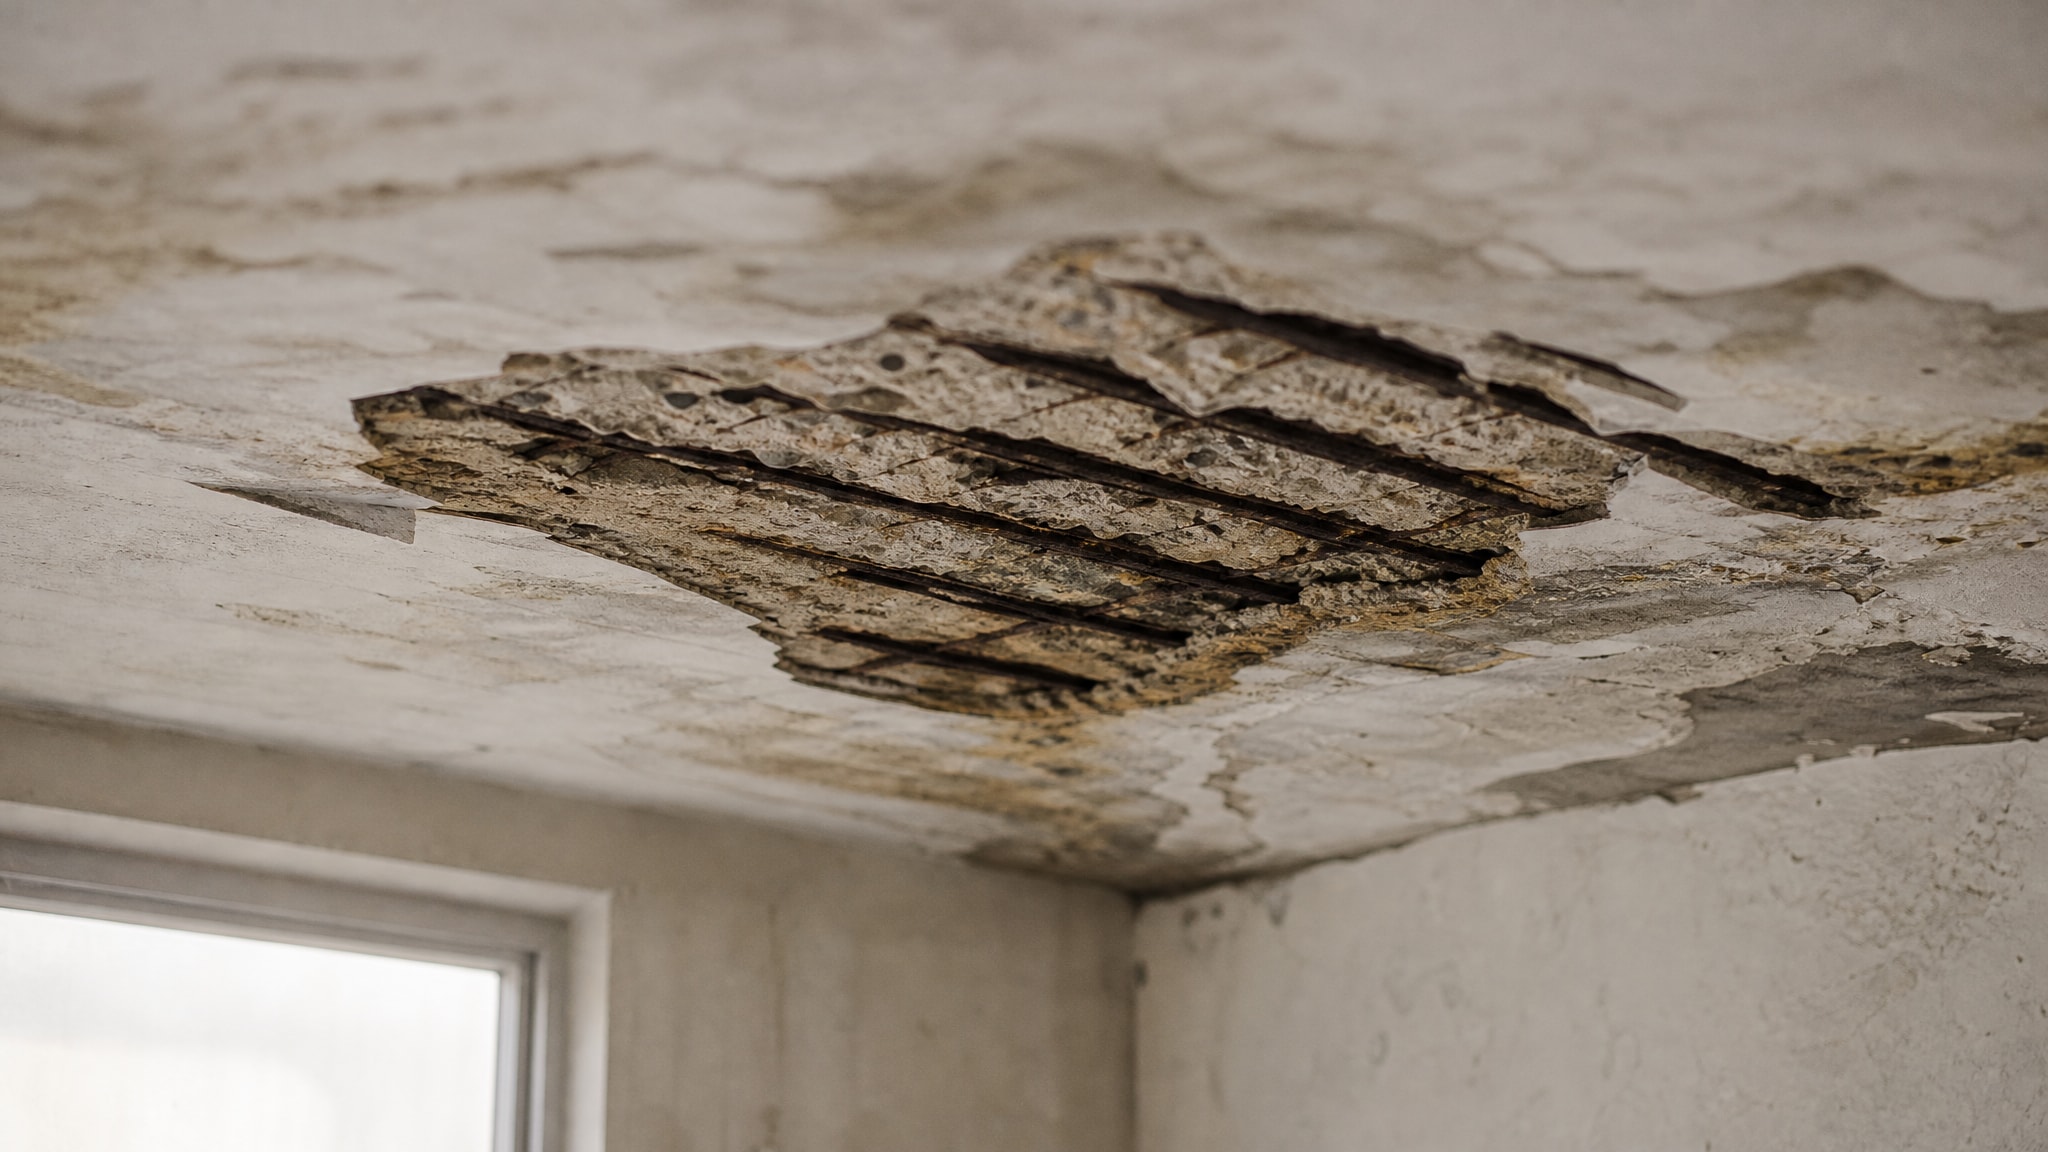
You can see water stains or peeling paint on the ceiling below, pointing to a HDB ceiling leaking into the downstairs unit situation.
A bathroom floor tile settling crack in an HDB flat can look minor on the surface while the screed underneath has already failed across a wide area. Do not fill and ignore it.
DIY Assessment vs. When to Call a Specialist
Before calling anyone, do a quick self-check. It takes five minutes and tells you a lot.
Tap test: Knock on the tile with your knuckle or a coin. A solid "thud" means the bond is good. A hollow, drum-like sound, known as delamination, means the tile has separated from the screed beneath. Any experienced Singapore tiler will perform this check before quoting a job. It is one of the most reliable on-site indicators of bond failure, even when the tile surface looks intact.
Grout scan: Walk the whole floor and look at every grout line. Crumbling grout along multiple lines, especially near the floor trap or perimeter walls, suggests moisture has been working underneath for a while.
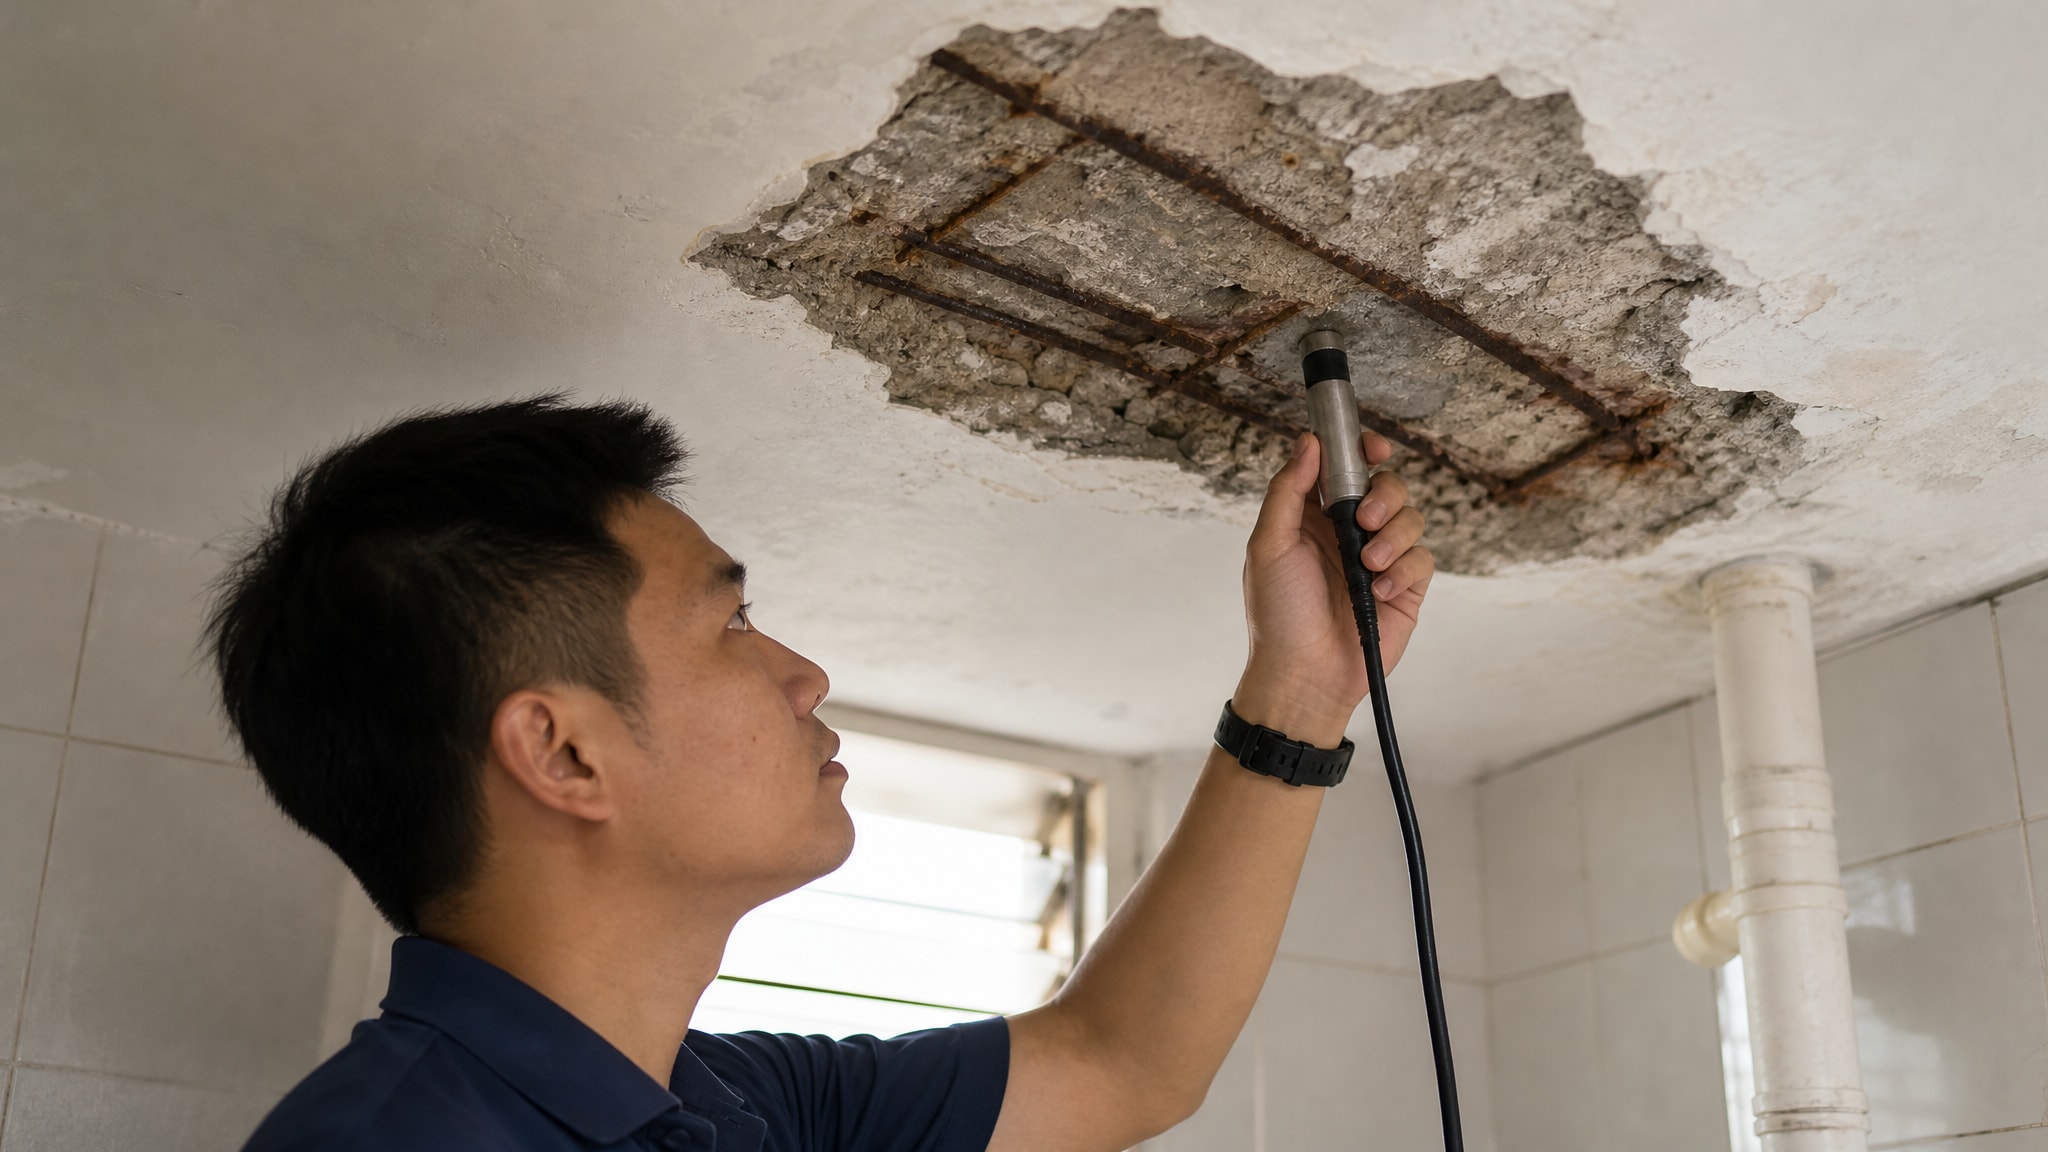
Ceiling check: If you're on a middle or upper floor, check the toilet ceiling of the unit directly below. Fresh stains or peeling paint down there point to active water penetration, that changes the urgency.
Age of the flat: If your HDB flat is more than 20–25 years old, the original screed and waterproofing membrane are approaching or past their service life. What looks like a single cracked tile may be part of a wider screed failure.
If the tap test reveals hollow tiles across more than a small area, if you spot diagonal cracks with lipping, or if the flat is in that older age bracket, call a specialist. Toilet flooring tile repair in Singapore HDB flats in these scenarios needs a proper substrate assessment before any tiles go down, or you will be back doing the same job in two years.
Repair vs. Replacement: Which Option Is Right for Your HDB Toilet Floor
When Targeted Tile Repair Is Enough
Isolated cracks with a solid substrate underneath are good candidates for spot repair. This means:
Removing the cracked tile carefully, without disturbing neighbours.
Inspecting and repairing the screed beneath if there is minor damage.
Re-laying a matching tile with proper adhesive coverage.
Resealing all grout lines in the zone.
If only grout has failed, resealing is the lightest and fastest fix. It won't hold long if the screed is compromised, so the tap test matters before you go this route.
When Full Toilet Floor Tile Replacement Makes More Sense
Full replacement is the right call when:
Hollow tiles cover a large portion of the floor.
The waterproofing membrane underneath has failed, it needs to be replaced anyway, which means lifting all tiles.
Rising damp is present, meaning the screed itself needs to dry out and be re-laid.
The flat uses pre-2000 era HDB tiles, which tend to be a thicker format. Matching them is difficult, and a patched floor with mismatched tiles often looks worse than a clean replacement.
In these cases, a full toilet floor tile replacement gives you a fresh waterproofing layer, a new screed bed, and tiles that actually match. It costs more upfront, but it resolves the root problem.
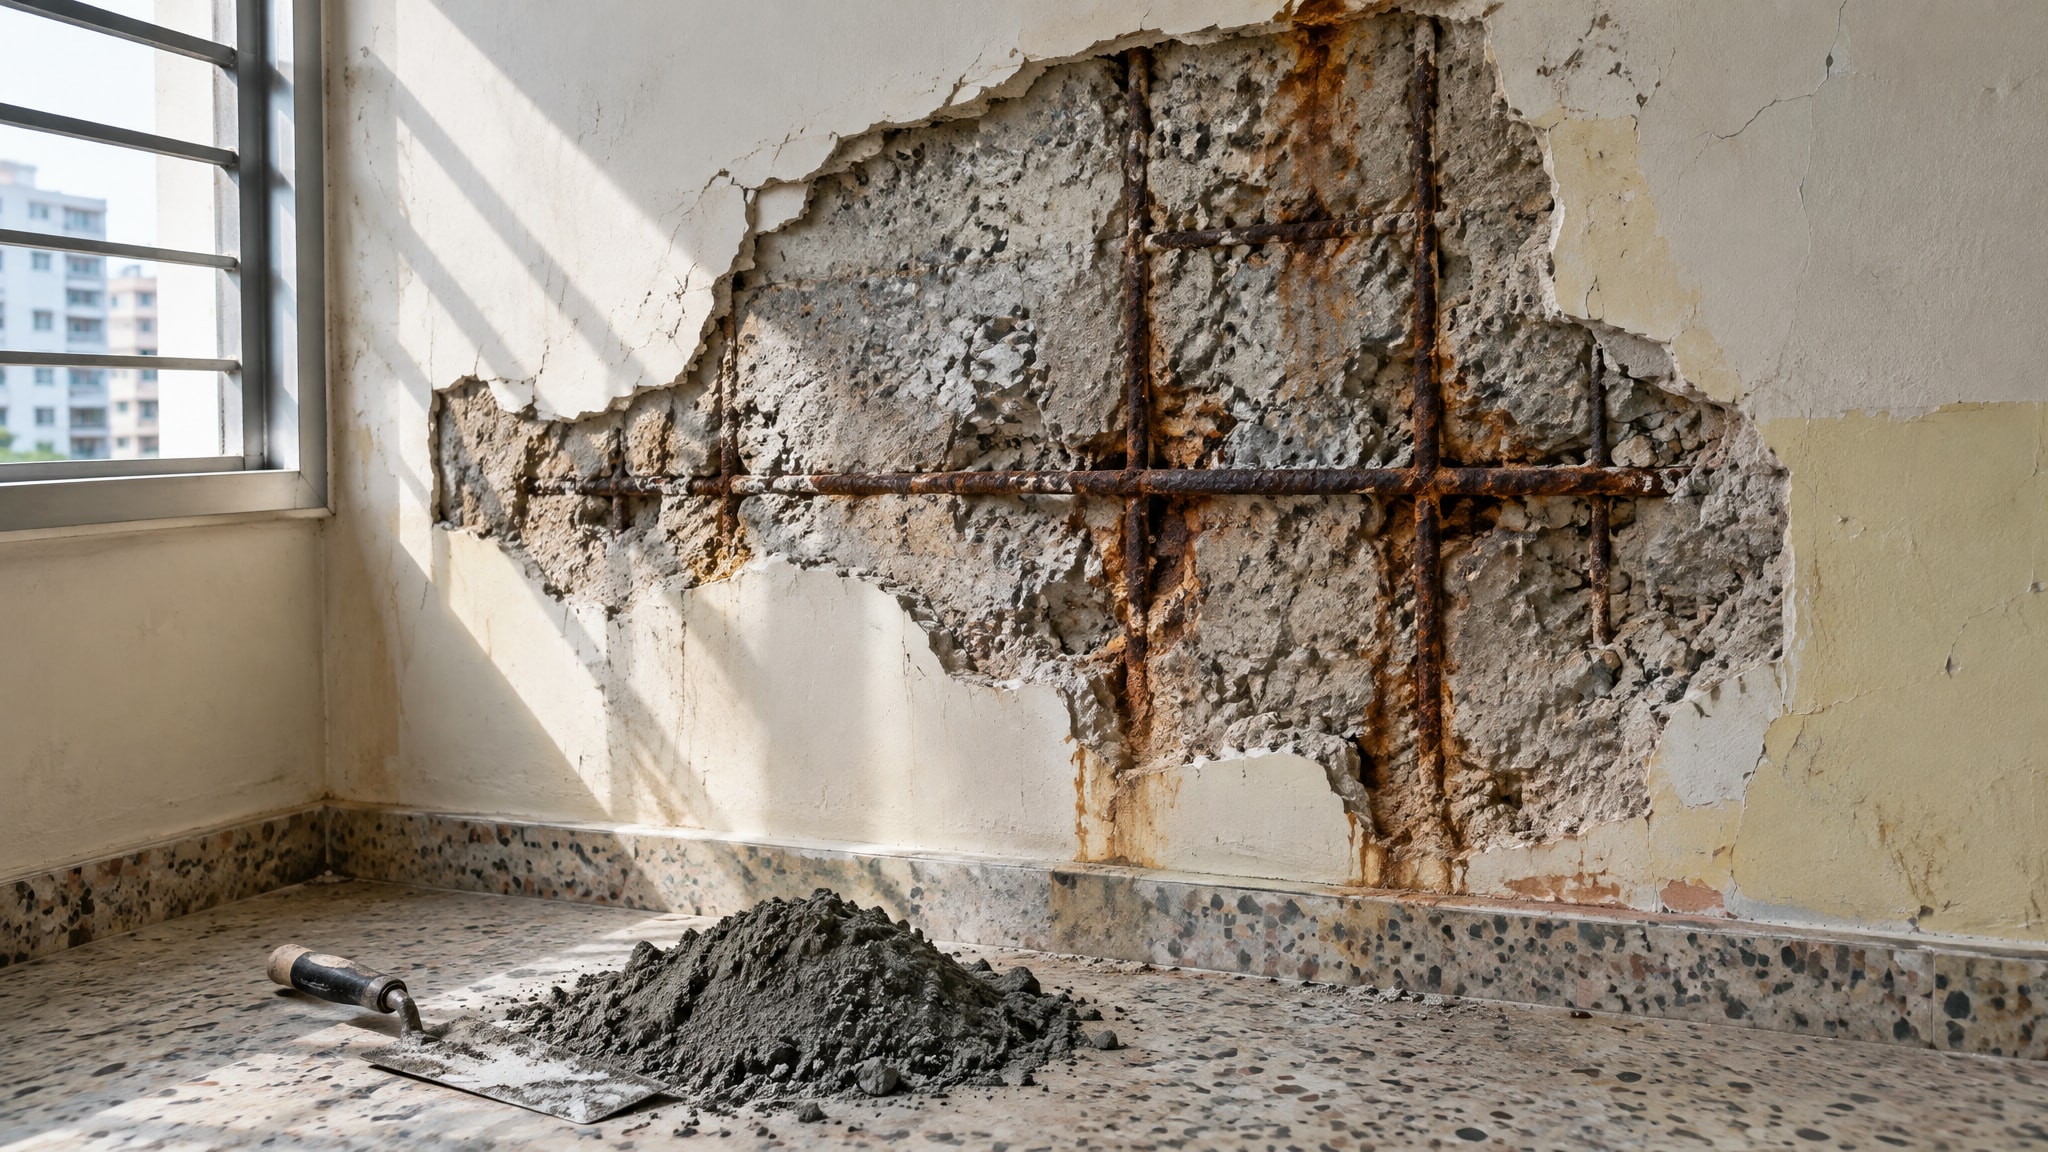
If you have deeper substrate damage, HDB bathroom spalling concrete floor repair may also be needed before new tiles go down.
For a detailed breakdown of what each option costs, see full tiles repair and replacement costs for Singapore HDB homes.
HDB Toilet Floor Crack Repair Cost and Timeline in Singapore
HDB toilet floor crack repair cost in Singapore varies considerably depending on what is actually wrong underneath. Here is a practical way to think about the bands:
Grout crack repair is the lightest spend. It involves cleaning out failed grout, applying fresh grout or sealant, and finishing. If the substrate is sound, this is a half-day job.
Screed repair or partial tile replacement sits in the mid range. You are paying for tile removal, screed patching or re-laying over a portion of the floor, waterproofing work where needed, and new tiles. Material costs vary depending on tile specification.
Full toilet floor tile replacement is the highest spend. It covers full tile removal, screed and waterproofing reinstatement, new tiles across the whole floor, and grout finishing. This is the appropriate scope when water damage remediation is involved.
Timeline: most toilet floor tile jobs in Singapore complete within one to two days once materials are sourced. Where screed needs to dry out fully before tiling, or where a new waterproofing membrane cure time applies, the job can extend to three to four days. Do not rush this, tiling over damp screed is one of the most common reasons tiles fail again within a year.
Preventing Water Damage and Mould After Your Floor Repair
Fixing the crack is only half the job. Without the right aftercare, the same problems come back.
Re-seal grout lines within a few weeks of repair, and again every one to two years after that. Grout is porous; sealing it blocks the moisture pathway that caused the original damage.
Keep the floor trap clear. A blocked trap causes water to back up and pool, exactly the conditions that weaken screed adhesion and cause water leak damage to repeat.
Monitor the ceiling below. For the first few months after repair, check the toilet ceiling of the unit underneath periodically. A new stain appearing there means water is still finding a path, and you want to catch it early.
Address mould quickly. In Singapore's humidity, a damp post-repair floor is a mould risk. Treat any visible mould before it spreads into grout lines or silicone seals, once it is established, surface cleaning alone won't clear it. For a full approach, see bathroom mould prevention and treatment in Singapore.
Unaddressed toilet floor water leaks are a genuine cost multiplier. What starts as a cracked tile repair bill can grow into screed replacement, ceiling repairs downstairs, and mould remediation, all because moisture was given time to spread. Catching the problem early and fixing it properly the first time is always the cheaper outcome.
Comments